
Before You Begin
- You must be an Admin (or have the Setting View permission) to configure default reminders.
- These defaults apply only to new expiration items. Existing items keep their current reminder schedule unless you choose to apply the change to them as well.
- Document types can override these defaults — see Creating a Document Type.
- Related articles:
How default reminders work
Every expiration item has a list of reminder days — the number of days before the expiration date when a reminder is sent. The Default Reminders page lets you set those numbers once for the whole account.
For example, if you set defaults to 30, 14, and 7:
- A reminder fires 30 days before the expiration.
- Another fires 14 days before.
- Another fires 7 days before.
When you create a new expiration item, it automatically inherits those three reminder days. You can edit them on individual items afterward.
Step-by-Step Instructions
Step 1: Open the Default Reminders page
- From the left sidebar, click Settings.
- Click Default Reminders.
Alternatively, click the Customize Reminders link in the lower-left of the Calendar page.
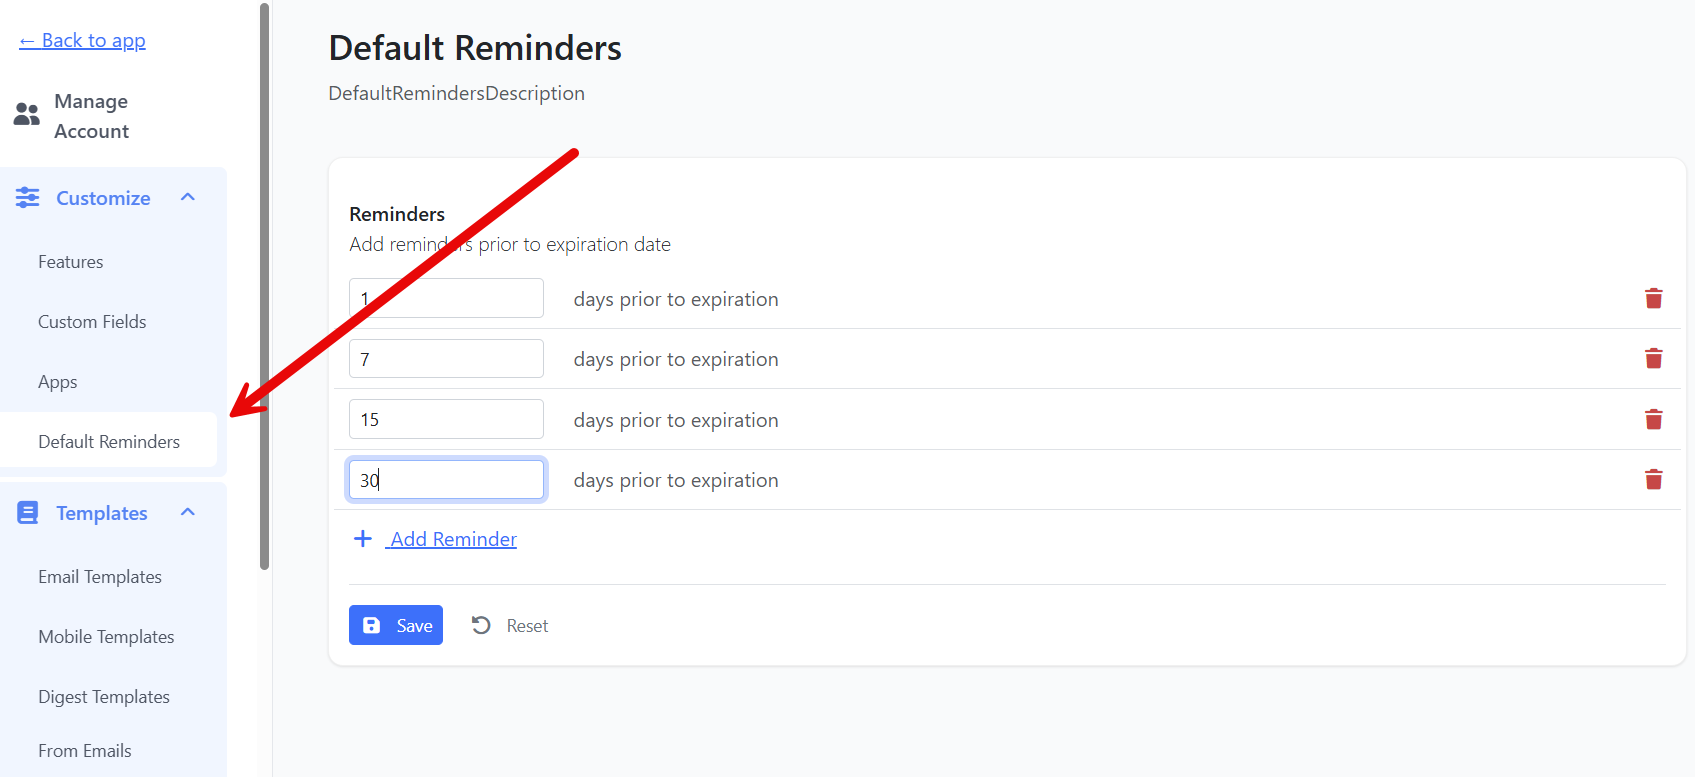
Step 2: Add or edit reminders
The page shows each reminder as a row. For each one:
- Enter the number of days before expiration the reminder should fire.
- Add another row by clicking the Add button.
- Remove a row by clicking its delete icon.
Reminder values must be positive integers (1 or higher).
Tip: Start with 30, 14, 7, 1 for most use cases. You can always trim or extend the list later.
Step 3: Save your changes
- Click the Save button.
- A confirmation dialog asks: Apply Default Reminders to all existing items?
- Click Yes, apply to all to update every existing expiration with the new defaults.
- Click No, just save to apply the new defaults to future items only.
- The change is saved and a success toast appears.
Step 4 (optional): Reset the list
If you want to start over, click Reset. The list reloads with whatever was previously saved (your unsaved edits are discarded).
Tips & Best Practices
- Less is more. Three to five reminders per item is usually enough. Too many notifications get ignored.
- Use the "Apply to all" option carefully. If you have hundreds or thousands of existing items, switching to Yes, apply to all can fire a lot of catch-up notifications. Time it during off-hours.
- Customize per document type. If different document types need very different reminder schedules (a passport vs. a 30-day inspection), set defaults that match the most common case here, then override on the document type itself.
- Sort matters. The list automatically sorts ascending by days, so 7 comes before 14, before 30. Don't worry about manual ordering.
Troubleshooting
- Issue: I clicked Save but nothing happened.
Solution: Check that every reminder value is a positive integer. A blank or 0 value blocks the save with an error toast. - Issue: I clicked Yes, apply to all but a specific item still has its old reminder schedule.
Solution: Items with a document type that has its own reminder schedule are not overwritten — only items using account-level defaults are updated. Open the item or its document type to adjust. - Issue: Reminders aren't firing even though I configured defaults.
Solution: Check that Send reminder emails and SMS is on in Settings → Customize → Features. That toggle is the master switch for all reminder delivery. - Issue: I don't see the Default Reminders menu in Settings.
Solution: You don't have admin permission. Ask an admin to grant the Setting View permission or to make the change for you.