
Before You Begin
- You must be an Admin to create or revoke API keys.
- API keys are sensitive — anyone who has the key can access your data through the API. Treat them like passwords.
- Revoked keys cannot be reactivated. If you revoke by mistake, you'll need to create a new one and update the integration that used the old key.
- Related articles:
What API keys are for
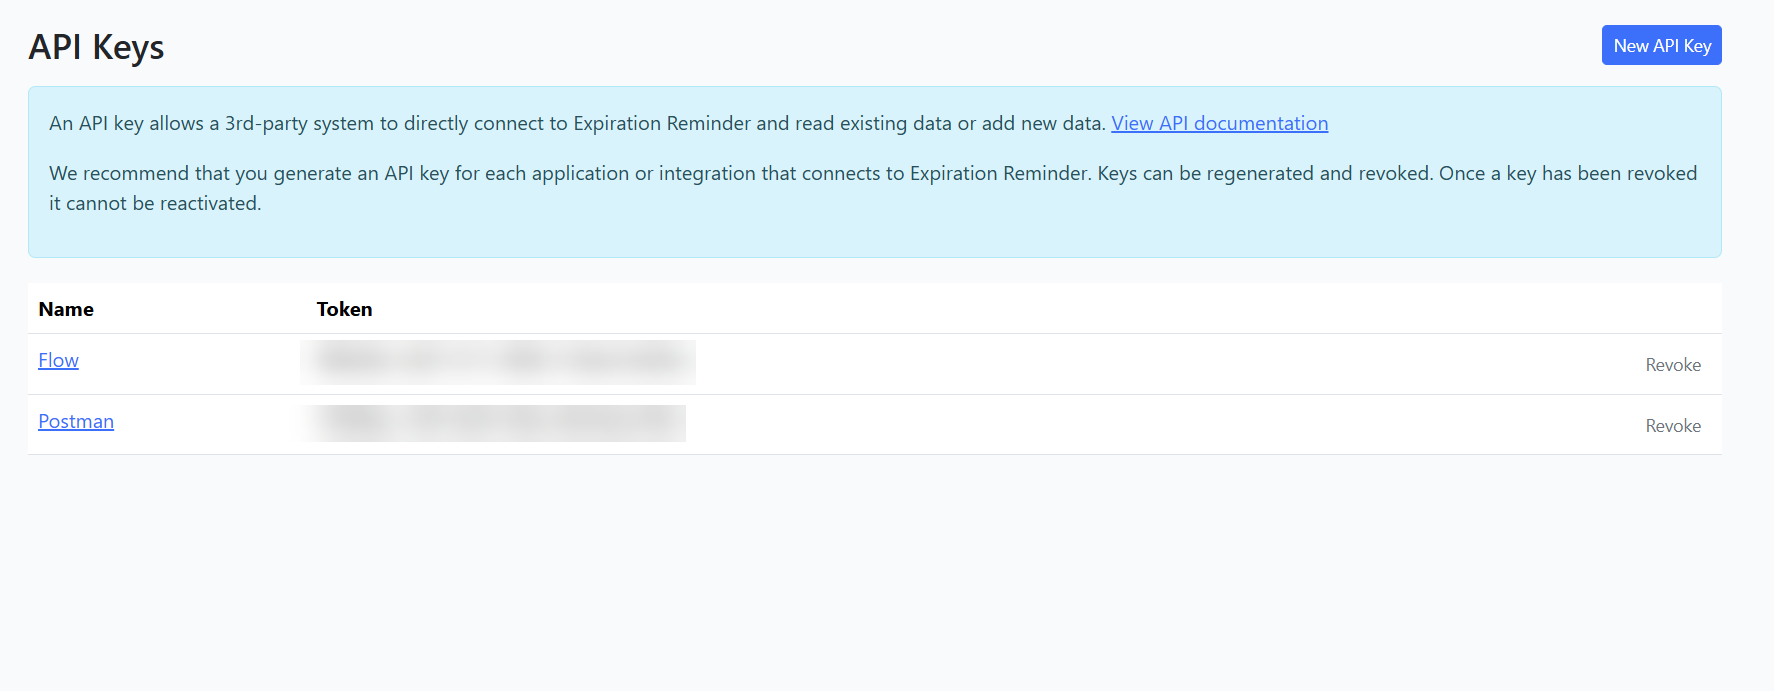
An API key lets an external system — for example, a custom script, a Zapier webhook, or your in-house compliance dashboard — connect directly to Expiration Reminder. With a valid key, that system can read your existing data and add new records via the public API.
Each key has a Name (so you can tell them apart) and an Access Token (the actual key value). You can create a separate key per integration, which makes it easy to revoke just one if a system is compromised or no longer in use.
Step-by-Step Instructions
Step 1: Open the API Keys page
- From the left sidebar, click Settings.
- Click API Keys.
You'll see a list of every API key currently active on your account, with columns for Name and Token.
Step 2: Create a new API key
- Click Add New in the upper right.
- A sidebar opens on the right.
- Enter a descriptive Name for the key (for example, "Zapier — production" or "Internal dashboard").
- Save.
The new key appears in the list with its Access Token visible. Copy the token and paste it into your integration's configuration.
Important: Copy the token immediately and store it somewhere safe (a password manager). If you lose it, you can revoke the key and generate a new one, but you can't recover the original value.
Step 3: Edit a key's name
To rename a key (for example, to reflect a new use):
- Click the key's name in the list.
- A sidebar opens with the editable name field.
- Update the name and save.
The token value does not change when you edit the name.
Step 4: Revoke an API key
- In the row for the key you want to revoke, click the Revoke button.
- A confirmation dialog asks: Are you sure you want to revoke this API key?
- Click the red Revoke button to confirm.
The key is removed from the list. Any integration that was using the token immediately stops working.
Tips & Best Practices
- One key per integration. Don't share a single key across multiple integrations. If one is compromised, you'd have to revoke and update every system using it.
- Name keys clearly. "Test", "Old", and "API" are useless three months later. Use "Zapier — production" or "John's compliance script — 2026" instead.
- Audit periodically. Open the API Keys page once a quarter and revoke any key you don't recognize or no longer use.
- Rotate after staff changes. If an employee with access to your API keys leaves the company, revoke the keys they used and generate replacements.
Troubleshooting
- Issue: I revoked a key but the integration still seems to work.
Solution: Some integrations cache the token. Restart the integration or wait a few minutes for the cache to expire. If it keeps working, double-check you're using the same account — multiple Expiration Reminder accounts could have separate keys. - Issue: I accidentally revoked the wrong key.
Solution: Revocation is permanent. Create a new key with a descriptive name and update the affected integration with the new token. - Issue: The Add New button doesn't appear.
Solution: Your role isn't admin. Ask an account admin to create the key for you, or to grant you the permission you need. - Issue: My integration says "Unauthorized" or "Invalid token".
Solution: Check the key still exists on the API Keys page and matches exactly what the integration is sending. Watch for stray whitespace or quotes when copying the token.