Tags
How to create a Tag and where to apply them
Tags are a step further in organizing how you view your records. Not only are they visually impactful, but it also opens another means of filtering your records. Perhaps there is a series of expirations put ‘On Hold’ but some need to be brought up to attention sooner than others – a Tag labelled ‘Priority’ can help. Or maybe there is a contact whose profile information is outdated – an ‘Update Info’ Tag can prove to be useful.
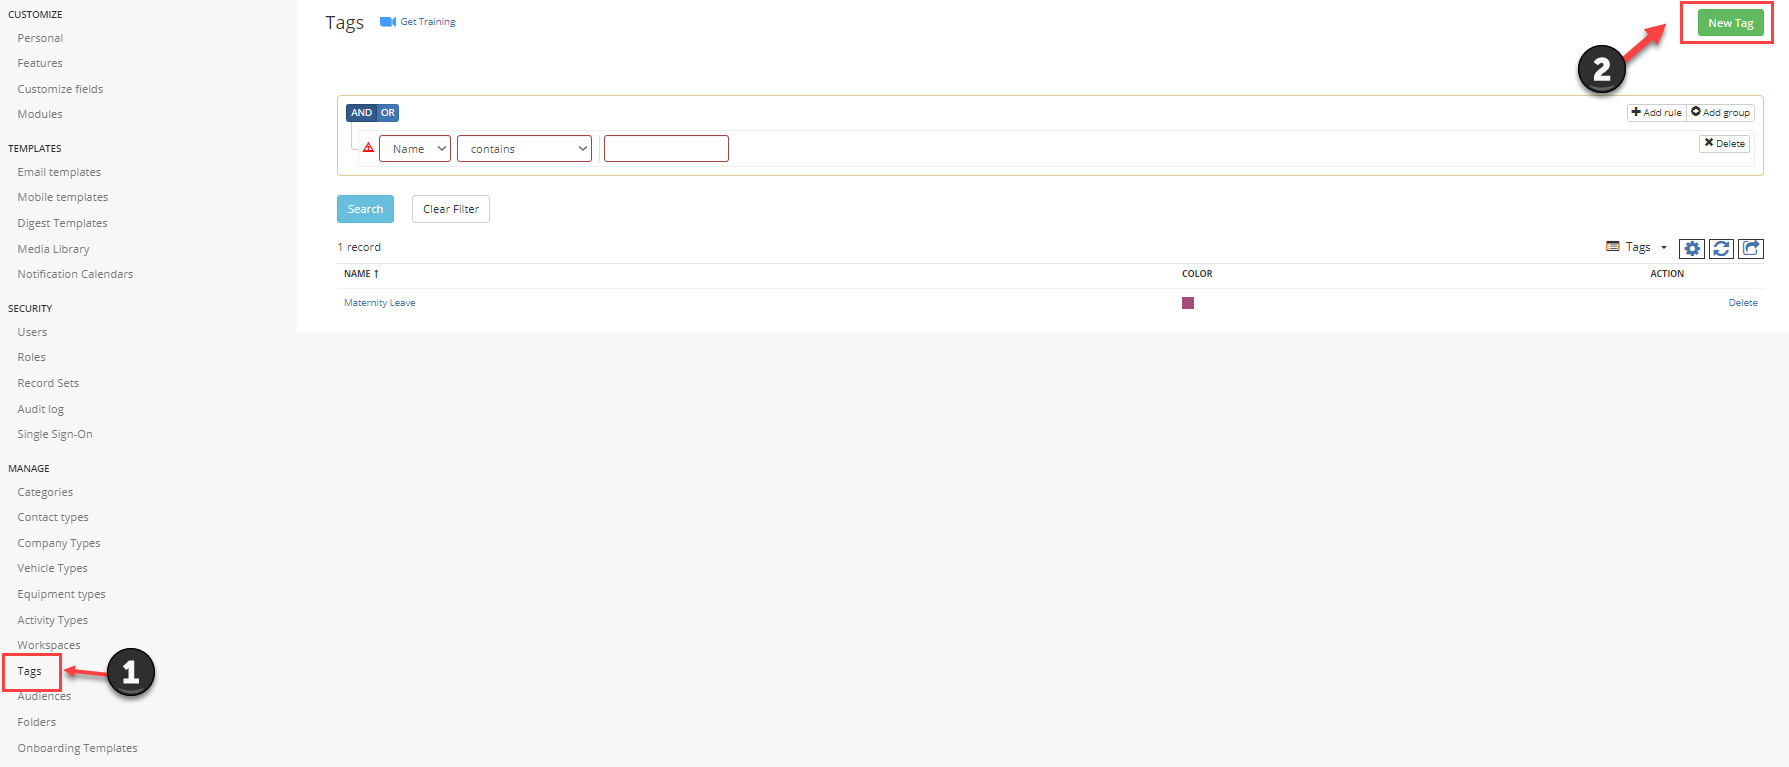
To create a Tag, go to your Account Settings and on the left-hand side under Manage, select Tags.

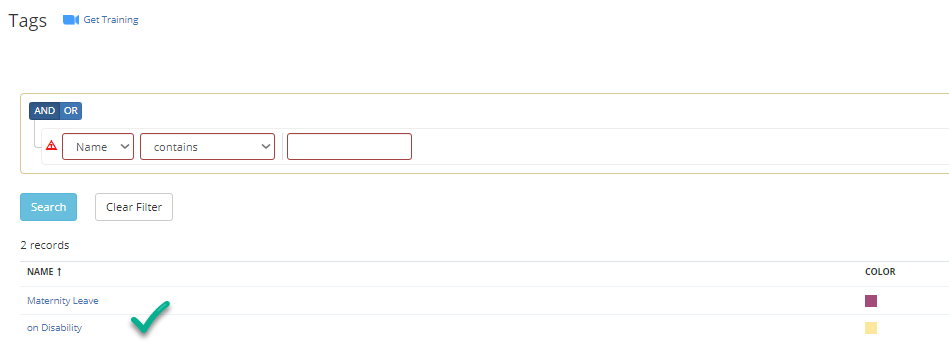
Click on ‘+Add a new Tag’, give it a name, color code it however you like, and save.


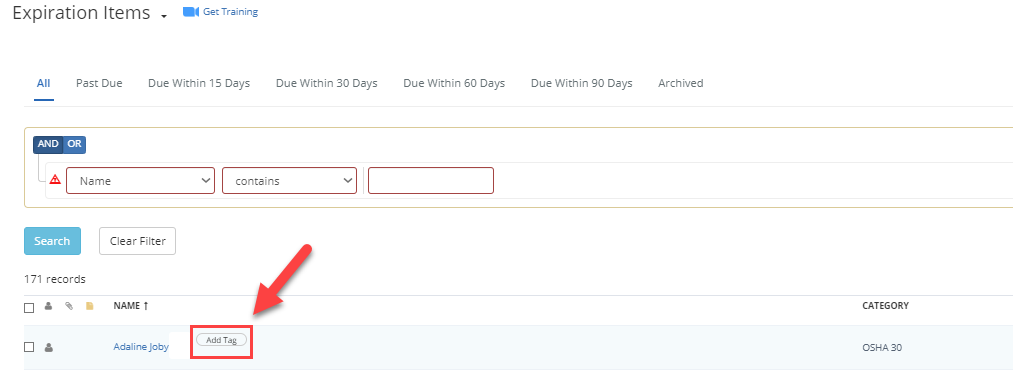
Now the tags can be applied either from the profile of the record, or from the section it is viewed on by hovering your mouse over the record’s name on the list.


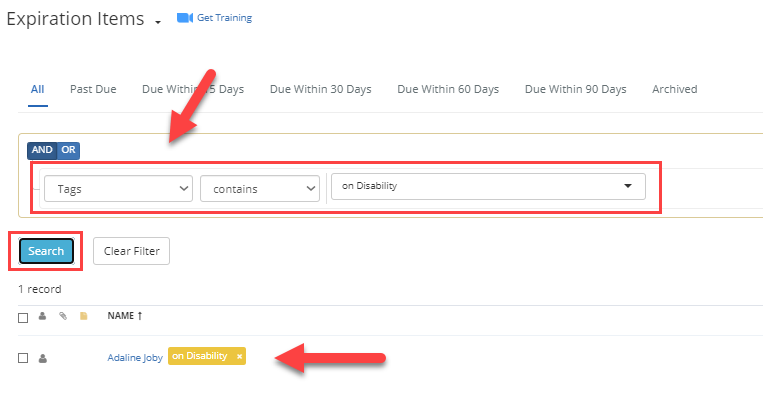
Furthermore, records with tags applied to them can now be brought out through filtering and will also appear on your Dashboard, similar to that of a status.


