Sorting Custom Fields
Learn more about how you can sort the custom fields within your Expiration Reminder account.
By default, Custom Fields will generally be listed alphanumerically. If you require this to be sorted differently this can be achieved by accessing the "Type" or "Document Type" and sorting the fields there. Our article below will provide additional detail on how this can be done.
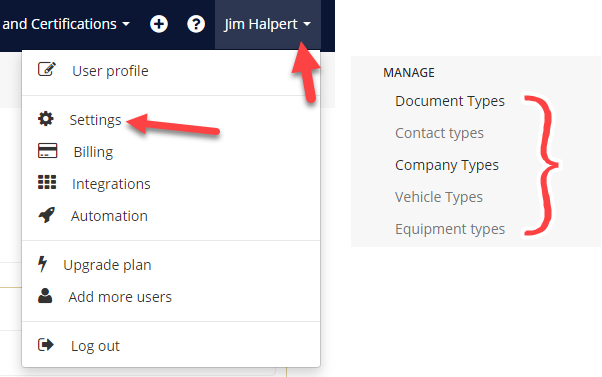
To begin, you can access your Account Settings by clicking on Your Name in the top-right corner and then on Settings in the drop-down menu.

From under the "Manage" heading on the left, you can select where you need to sort your fields. If it is Contact fields, you can select Contact Types, if it is Document Type fields you may select Document types, and so forth.
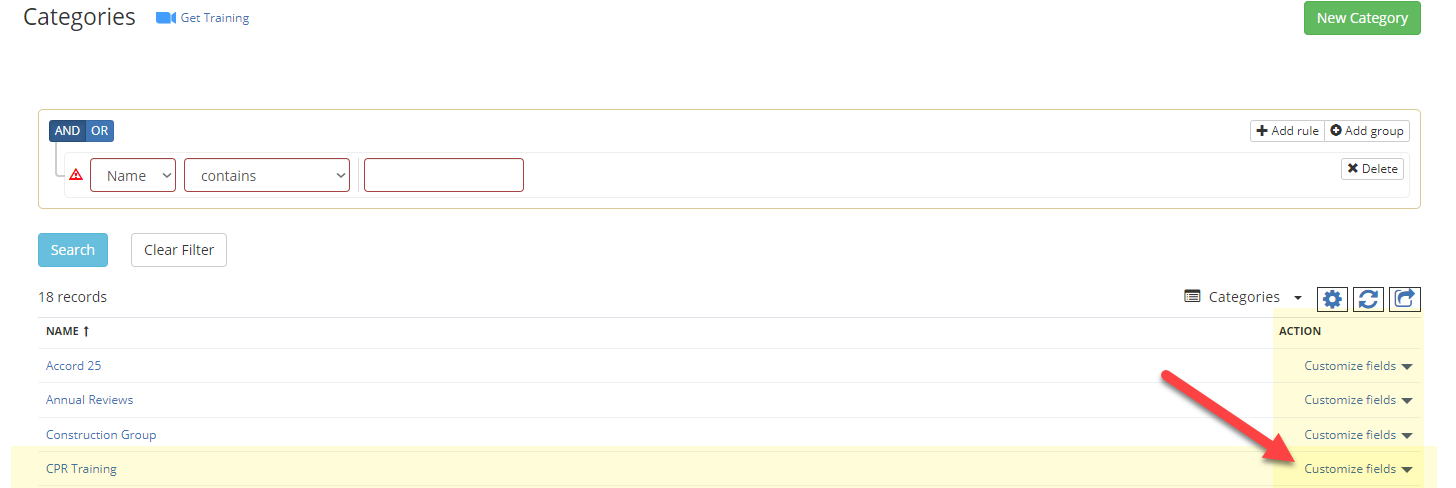
Going forward with our article, we will be using document-specific custom fields as our example. Once we click "Document Types" we are taken to our document type list. Under the "Action" column will be the "Customize Fields" link, click here.

You may sort your existing fields with the blue "Sort Fields" button in the top-right corner, next to the "Add a New Field" button.

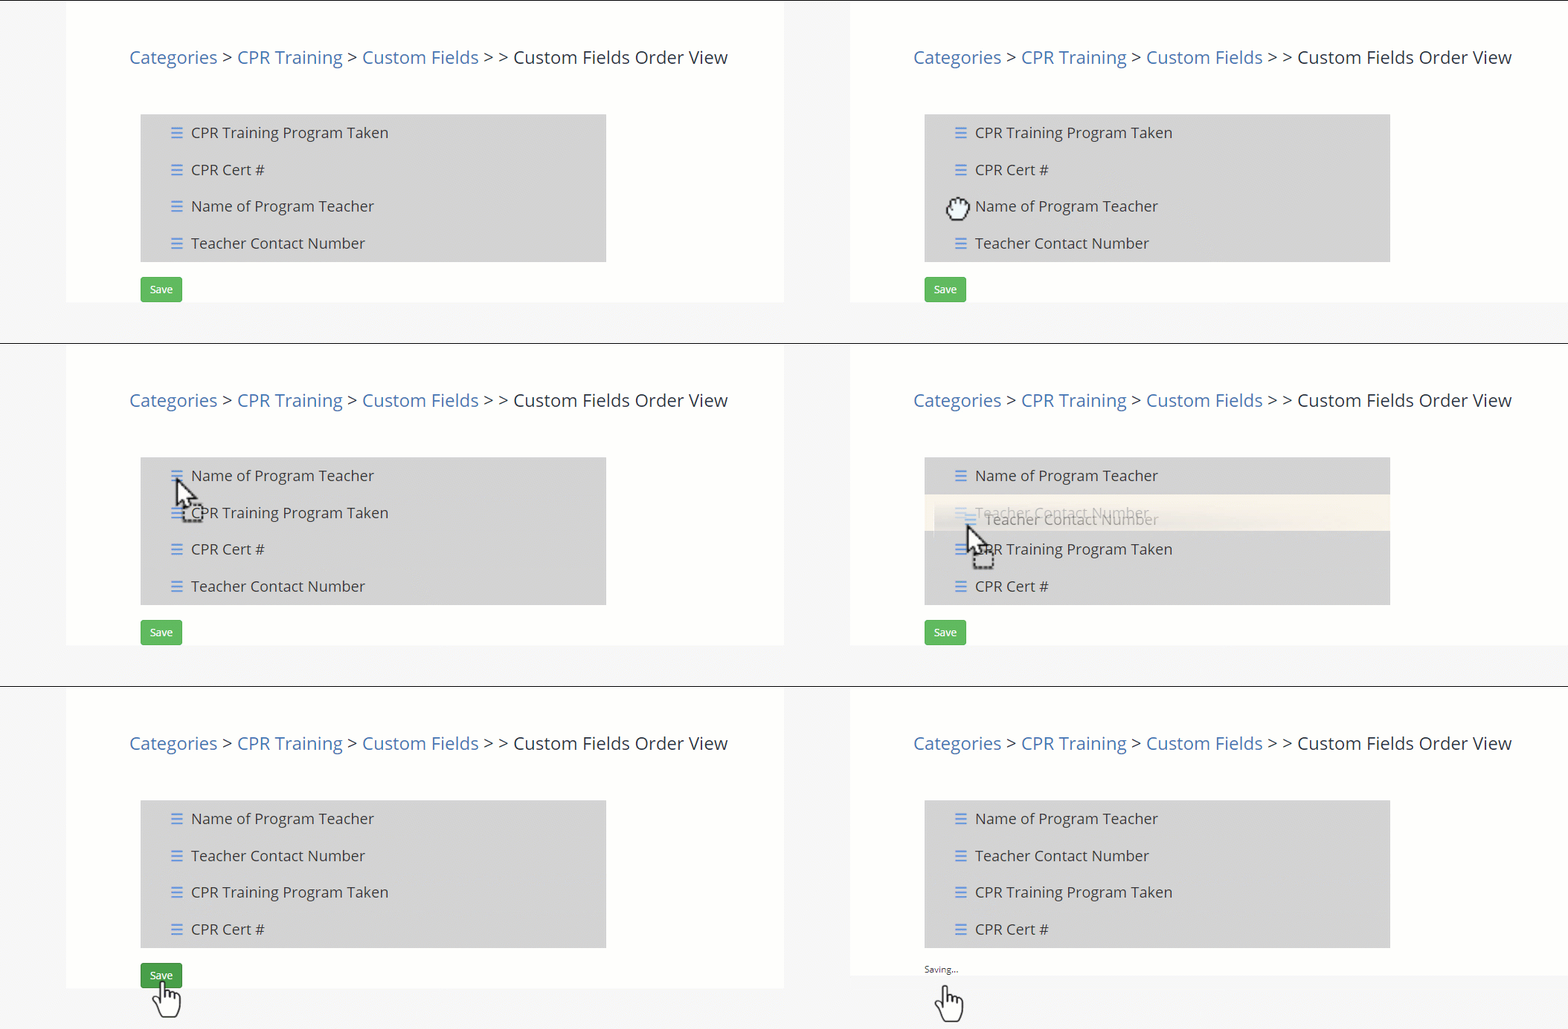
Once at the Sort Fields page, you will be able to drag and drop the fields in the way you would like them displayed. Bear in mind this will only include custom fields, and not pre-made default fields.

