Zendesk
Find out how to integrate Zendesk with Expiration Reminder
Expiration Reminder integrates with Zendesk and allows you easily import agents and contacts and also create Zendesk tickets when items are about to expire reducing your data entry times.
-
Contacts in Expiration Reminder are matched with users in Zendesk based on their email address. Make sure that email addresses in both systems are up to date and that they match for the same users.
-
You need to have a Zendesk account already created and be an Admin to be able to connect to Zendesk.
Setting up the Zendesk integration
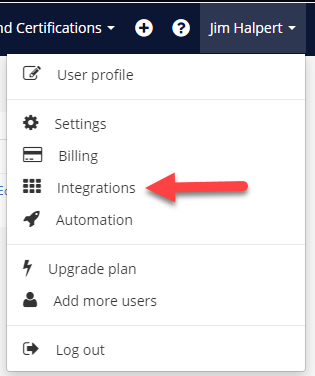
If you already have an Expiration Reminder account and want to integrate with your Zendesk account, click on Your Name on the top-right menu and then on 'Integrations.'
On the screen, look for Zendesk under support. Click on the green Connect button.

A screen will show up asking for your Zendesk URL domain.

Once you enter the domain URL, you will need to configure Zendesk for your Expiration Reminder account.
Configuration options
You can configure your Zendesk integration by going to Your Account on the top and clicking on Integrations. From there, look for Zendesk and click on the blue Configure button.

Syncing agents
You can sync agents from Zendesk into Expiration Reminder so you can assigned them as contacts on expiration items. Any synced agent will be added as a contact on Expiration Reminder.
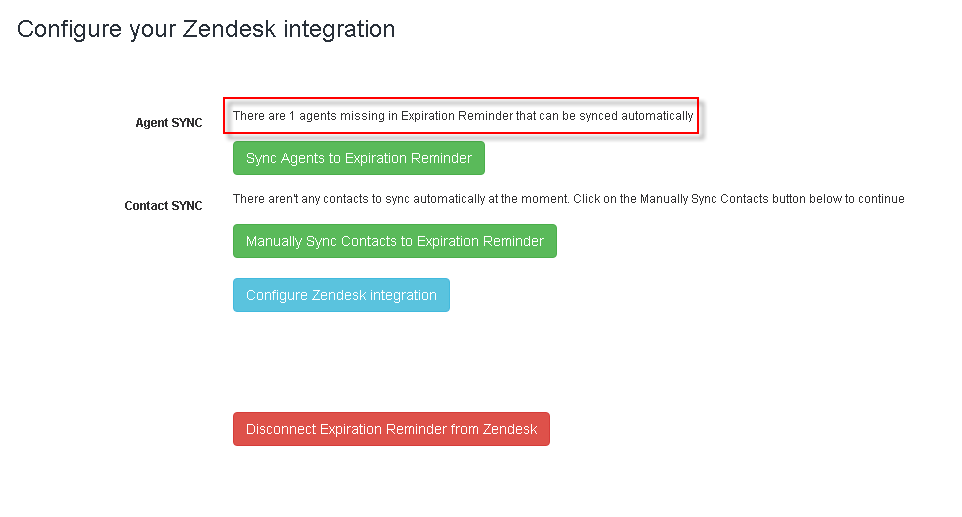
If there are any users that can be synced automatically, it will indicate so on the configuration screen. Just click on the Sync Agents to Expiration Reminder and the process will start automatically.
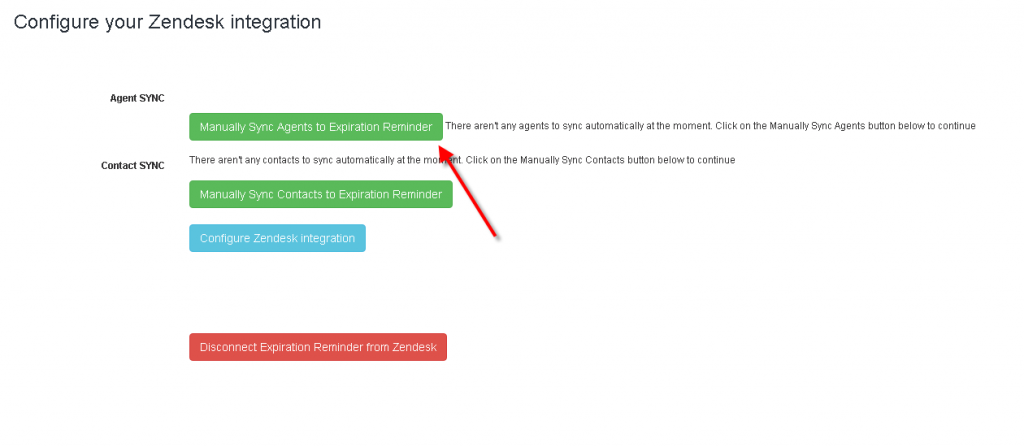
For agents that can’t be sync automatically, the green button will show with the message Manually Sync Agents to Expiration Reminder. Click on the button and a screen will show with details about agents on Zendesk that aren’t on Expiration Reminder.
You can add the agents just by clicking on the Add link button and they’ll be added as contacts automatically.

If you’d like to Ignore an agent, just click on the ignore link and it won’t show up on the users to be synced table.

Syncing contacts
You can sync contacts from Zendesk into Expiration Reminder so you can assigned them as contacts on expiration items. Any synced contact will be added as a contact on Expiration Reminder.
If there are any contacts that can be synced automatically, it will indicate so on the configuration screen. Just click on the Sync Contact to Expiration Reminder and the process will start automatically.
For contacts that can’t be sync automatically, the green button will show with the message Manually Sync Contacts to Expiration Reminder. Click on the button and a screen will show with details about contacts on Zendesk that aren’t on Expiration Reminder.
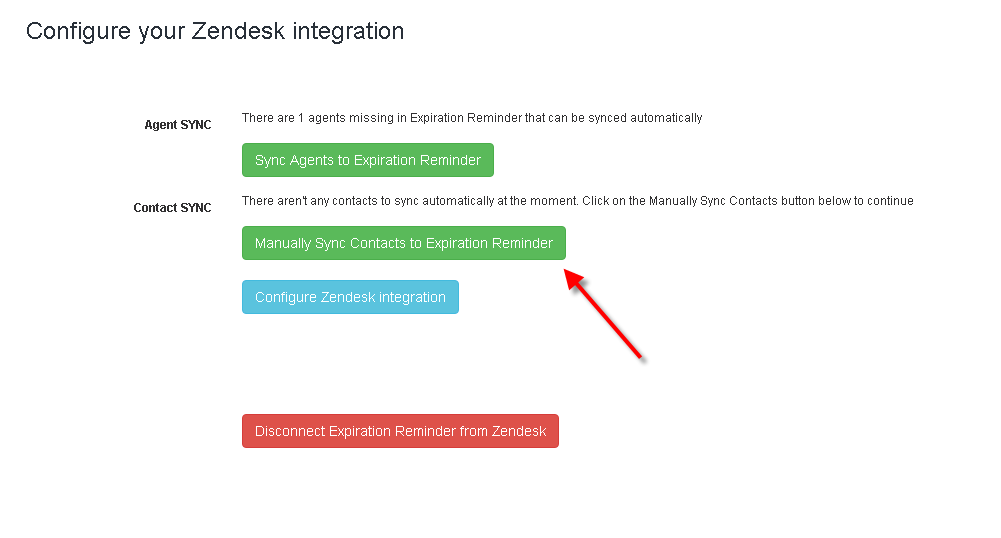
You can add the contacts just by clicking on the Add link button and they’ll be added as contacts automatically.

If you’d like to Ignore a contact, just click on the ignore link and it won’t show up on the users to be synced table.

Creating a ticket
Expiration Reminder also allows you to create a ticket in Zendesk when an item is about to expire. This allows to reduce the entry time on Zendesk and is useful if you’re tracking expiration dates for contracts for example.
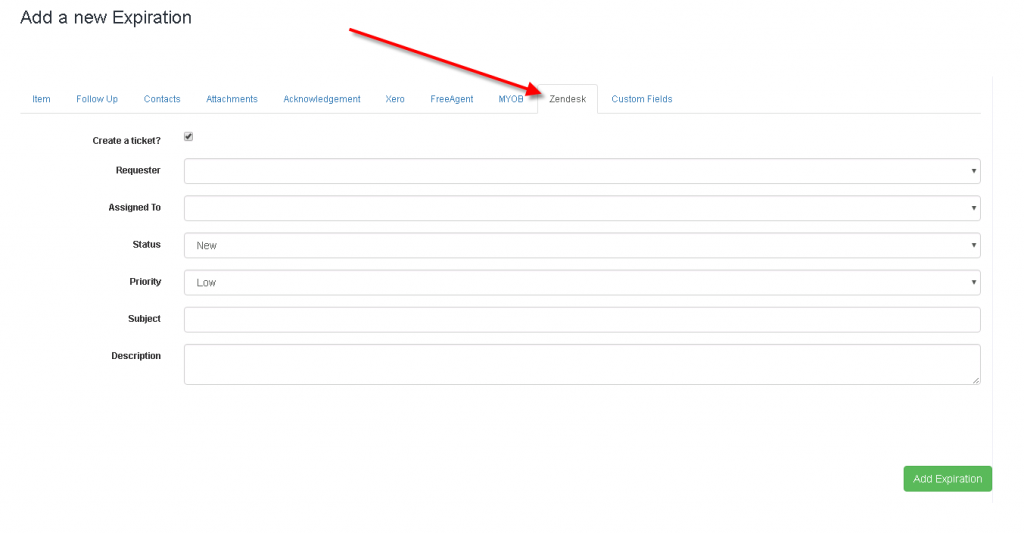
To configure an expiration item to create a ticket when is about to expire, click on the Zendesk tab when creating or editing item. In the screen tick the checkbox Create a task and then select the agent to whom the task will be attached to. Keep in mind the agent had to be previously synced from Zendesk into Expiration Reminder.
You can also enter the priority, the status of the ticket, a subject line and a description.
Setting up Zendesk App
In Zendesk, go to the Settings menu. Go to Apps and then click on Marketplace. In the marketplace, search for the Expiration Reminder app.
Go to Settings menu in Zendesk. On the screen, look for Apps and marketplace.
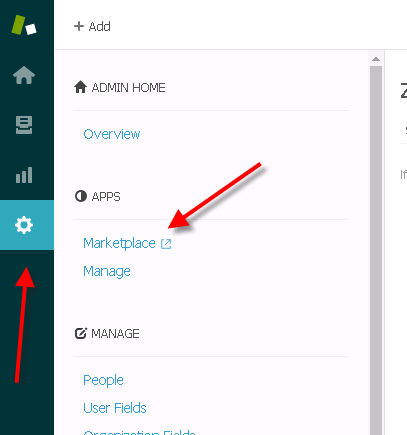
From the marketplace, search the Expiration Reminder app and click on Install. Once enabled, you’ll need to link your Expiration Reminder account with Zendesk.
Linking Expiration Reminder and Zendesk
To link your Expiration Reminder account with Zendesk, click on the Login with Expiration Reminder link:
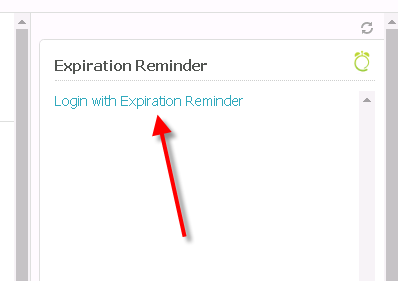
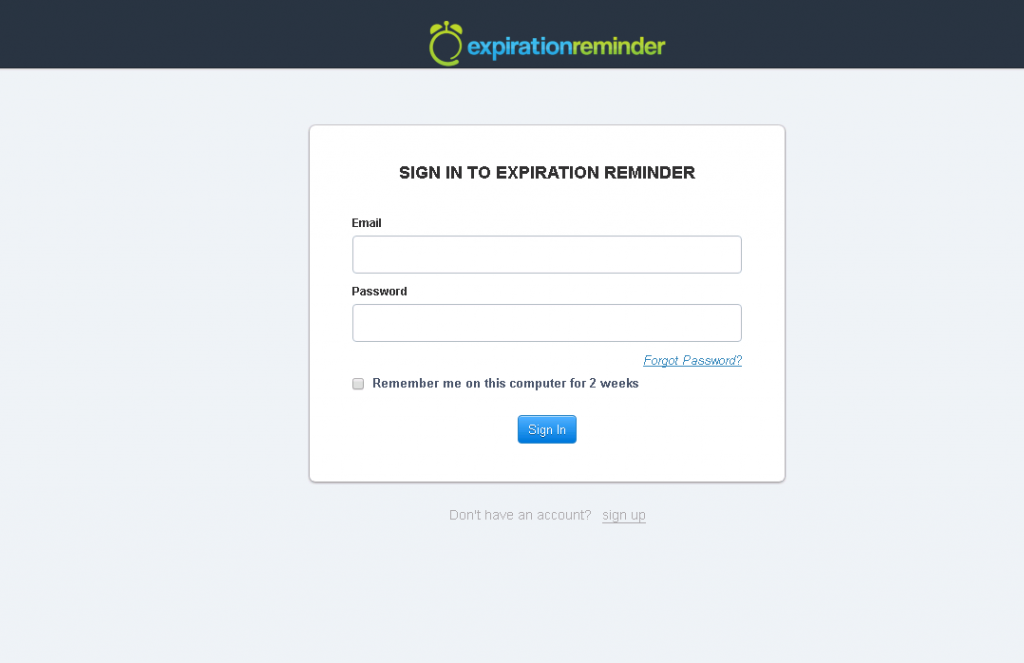
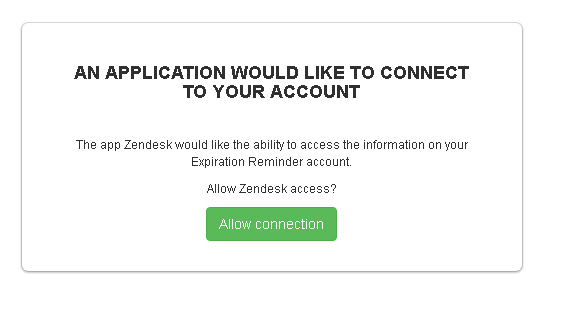
Then, on the login screen, login to Expiration Reminder and then click on the green button Allow to allow Zendesk to access your Expiration Reminder account.
Viewing Expiration Items
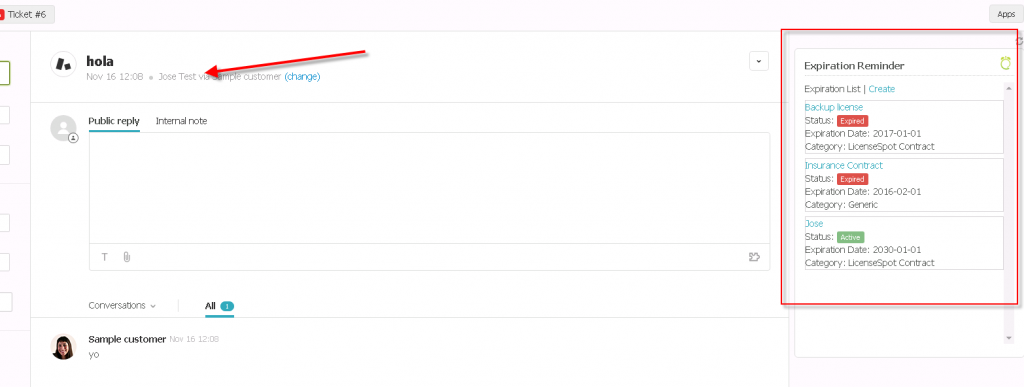
The Expiration Reminder Zendesk app will automatically load expiration items related to the contact assigned to the ticket. You don’t need to to do anything:
Creating an Expiration Item
You can create an expiration item from Zendesk by clicking on the Create link on the Expiration Reminder app.
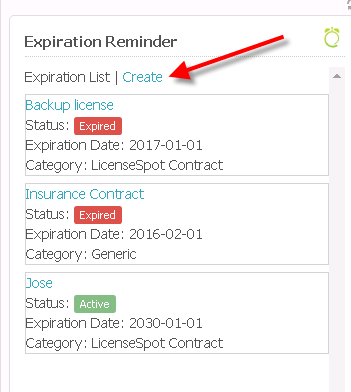
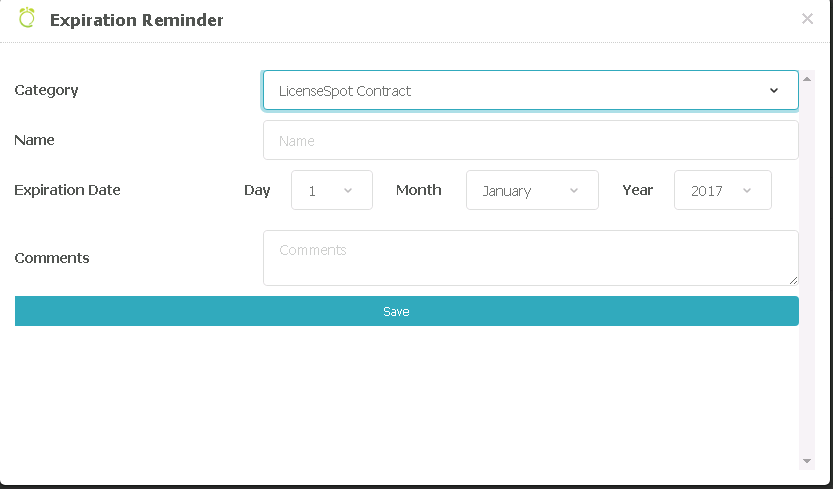
On the create screen, select the category and the expiration date and the expiration name.
