Importing Expiration Items for Contacts - Multiple Date Columns
Get started importing your multiple expiring items for Contacts (ie. training, permits, etc) from your Multi-Column Dates Spreadsheet
Before You Begin:
- Ensure Correct Workspace: Make sure you’re in the correct workspace before starting your import. Data imports to the workspace you're currently in.
- Document Types: Create necessary Document Types in your account before starting the import for successful mapping.
- Single Sheet Import: The import feature will only read the first sheet of your Excel file. For multiple sheets, import them individually or create separate files with one sheet each.
- Custom Fields: If you're using Custom Fields for additional data, ensure these fields are already created in your account before importing. You can learn more about adding custom fields here: Adding Custom Fields | Expiration Reminder
- Navigate to your account Settings and under Tools on the left-hand menu, select “Import Data”
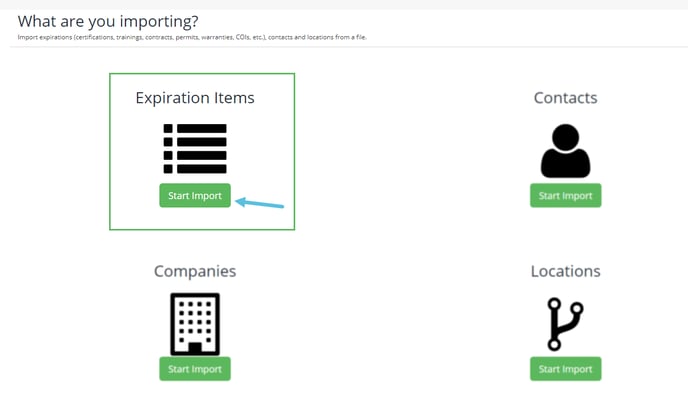
- Choose the “Expiration Items” import option from the 'What are you Importing?' screen.
Step 2: Choose Import Type
- Select “Contact Import: employee, staff or contractor certifications” for spreadsheets with multiple columns of expiration dates.

- This import type also allows you to add contact details during the import if needed.
- To see if your spreadsheet fits this import type, you can review the example spreadsheet used in this tutorial below.

Date triggers:
2000-01-01 as the expiry on your spreadsheet, and the import will read it as an item to upload as 'No Date'
2000-01-02 will upload the item as 'Missing'
2000-01-03 will upload the item as 'On Hold'
2000-01-04 will upload the item as 'Not Applicable'
Step 3: Handle Duplicates
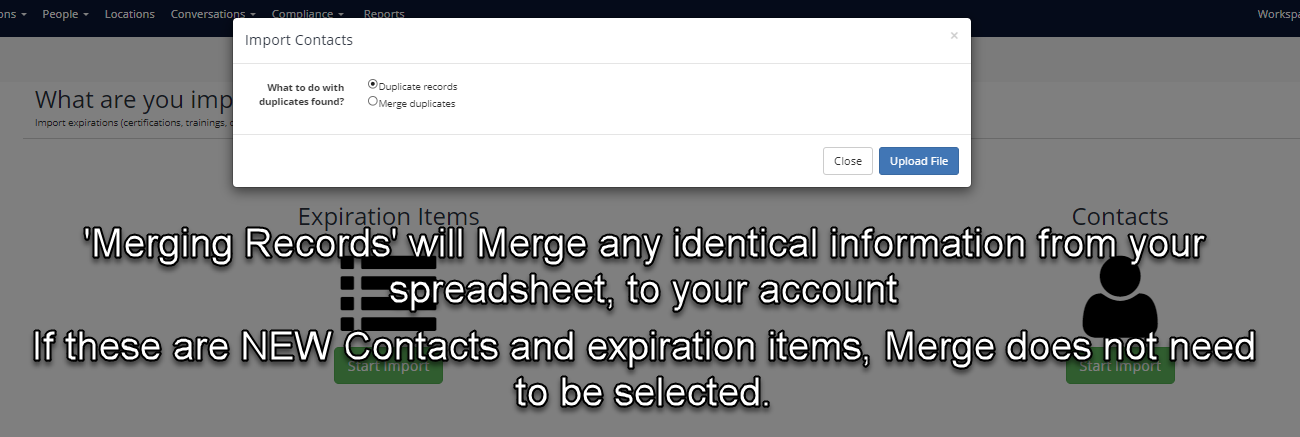
- Decide if you want to Merge or Duplicate records.
- Merge: Combine imported contacts or expiration items with existing ones in your account. If these are new, you can skip merging.
Step 4: Upload Your Spreadsheet
- Select your spreadsheet file for the import.
- Choose your Header Row (e.g., Row 1) to proceed to the next step.

Step 5: Map Your Columns
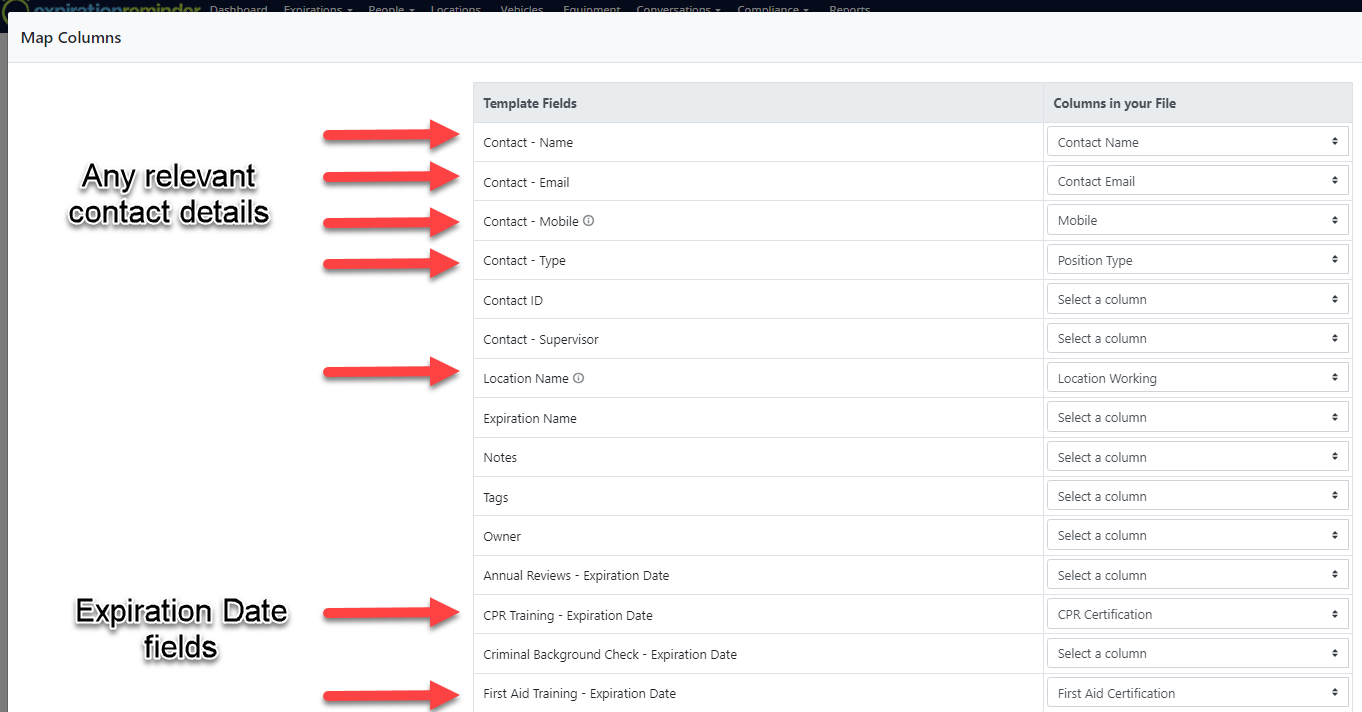
- On the Mapping Screen, map the columns from your spreadsheet to the corresponding fields in your account.
- Ensure all required fields are correctly mapped. It’s not necessary to map all fields if they are not relevant. If you don’t want to include certain columns, choose "Ignore this column" from the dropdown menu.
- If mapping the “Owner” field, use the email of the User you wish to assign as Owner.
Step 6: Review and Correct Errors
- Review any errors flagged by the system (e.g., missing data). You can correct these errors on this screen without needing to edit your spreadsheet.
Step 7: Complete the Import
- Follow the import sequence: Processing Data (1/2) and Uploading Data (2/2). The time taken will depend on the size of your spreadsheet.
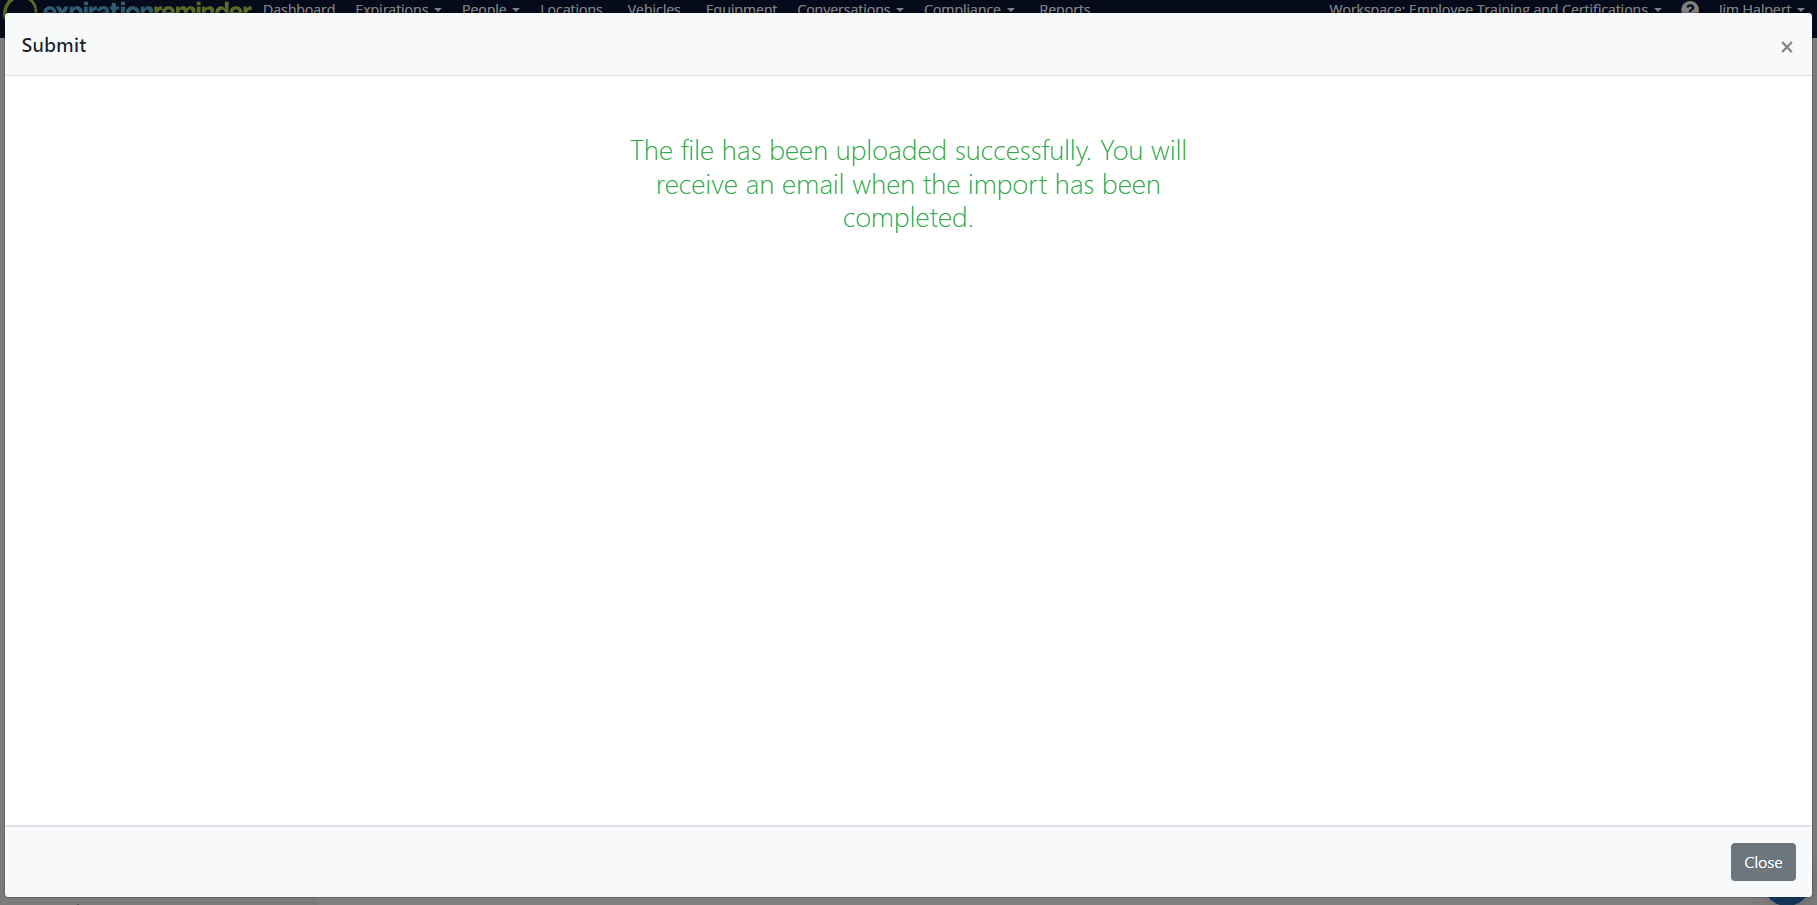
- You will see a confirmation screen once the import is complete.
Happy Importing!
Don't forget to check out our articles on Importing spreadsheets below:


