Importing Equipment
This article will get you started importing Equipment Items and their details with your spreadsheet.
Before You Begin:
- Ensure Correct Workspace: Make sure you’re in the correct workspace before starting your import. Data imports to the workspace you're currently in.
- Single Sheet Import: The import feature will only read the first sheet of your Excel file. For multiple sheets, import them individually or create separate files with one sheet each.
- Custom Fields: If you're using Custom Fields for additional data, ensure these fields are already created in your account before importing. You can learn more about adding custom fields here: Adding Custom Fields | Expiration Reminder
- Go to Account Settings and select “Tools” on the left-hand side.
- Click “Import Data” to open the import options.
Step 2: Start the Import
- On the Import Tool page, it will say “What are you importing?” in the top of this section.
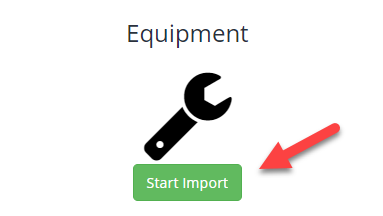
- Click “Start Import” under “Equipment” to begin.

Step 3: Handle Duplicates
- Choose whether to Merge or Duplicate records
- Merge: Combine imported equipment with existing items. If importing new equipment, you can skip merging.
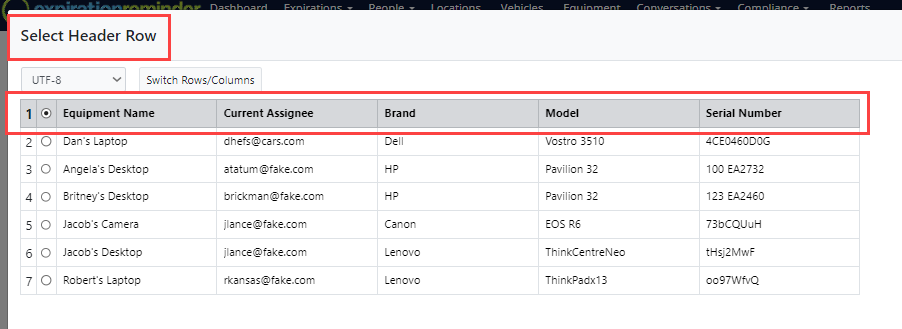
The file we are using for instructional import today is as shown below. Included is basic Equipment information (ie. Name, Assignee, serial number, brand, etc)

Step 4: Select Spreadsheet and Header Row
- Select your spreadsheet and choose the Header Row (e.g., Row 1). Proceed to the Mapping Screen.

Step 5: Map Your Columns
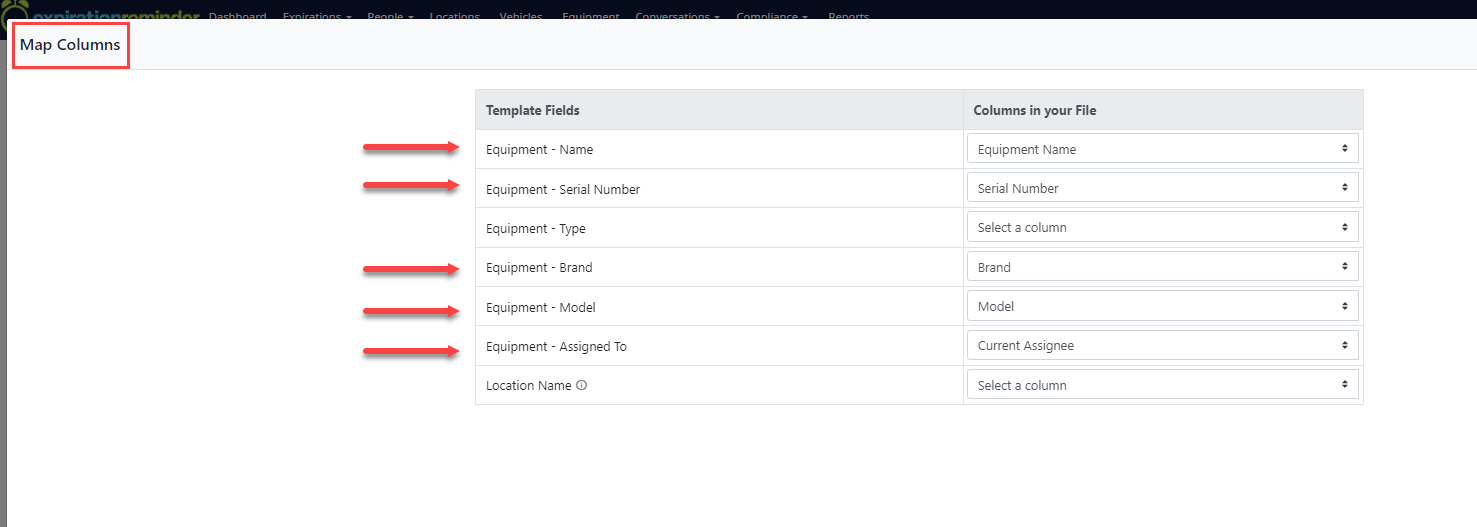
- On the Mapping Screen, match the columns from your spreadsheet to the contact fields in your account. Only map the fields that are relevant to your import. Required fields must be mapped correctly.
- Not all columns need to be mapped. If you don’t want to include certain columns, choose "Ignore this column" from the dropdown menu.

Step 6: Review for Errors
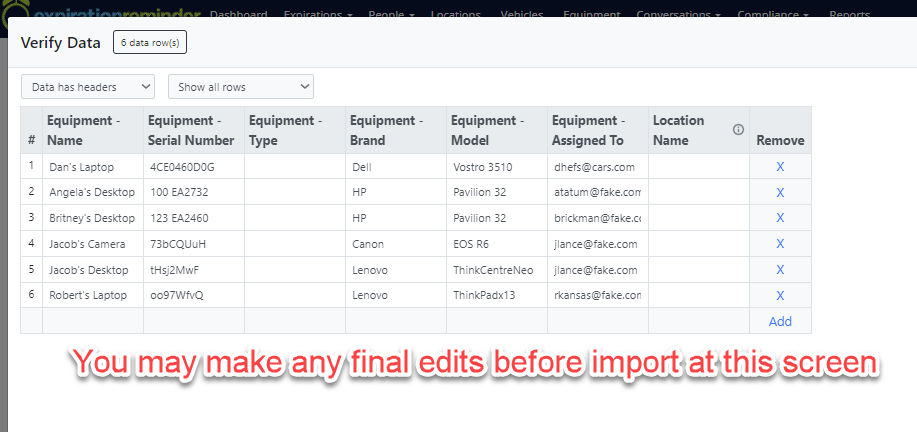
- Review the next screen for any errors detected by the system or any final edits you'd like to make.
- Correct any issues before proceeding (e.g., spelling errors). Formatting issues (if any) will be highlighted in red and will prevent you from continuing.

Step 7: Complete the Import
- Continue to the final stage to import your data.
- The import process will run in two stages: Processing Data and Uploading Data. The time it takes will depend on the size of your spreadsheet.
Step 8: Verify Your Import
- Once you receive the confirmation email, check your account to ensure all data was imported correctly.
Final Tip: Always double-check your data after importing to confirm everything is accurate.
Happy Importing!


