Creating Expirations from Automations
Find out how to create an expiration from an automation
The create an expiration action allows you to create an expiration in the account from an event. For example, when a contact is created or when an event occurs in another app.
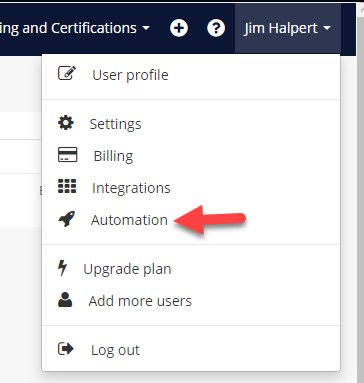
You can access Automations by clicking on Your Name in the top-right corner and then on 'Automation' in the drop-down menu.

Then you can create a New Automation by clicking the green "+Add a New Automation Rule" in the top-right corner.

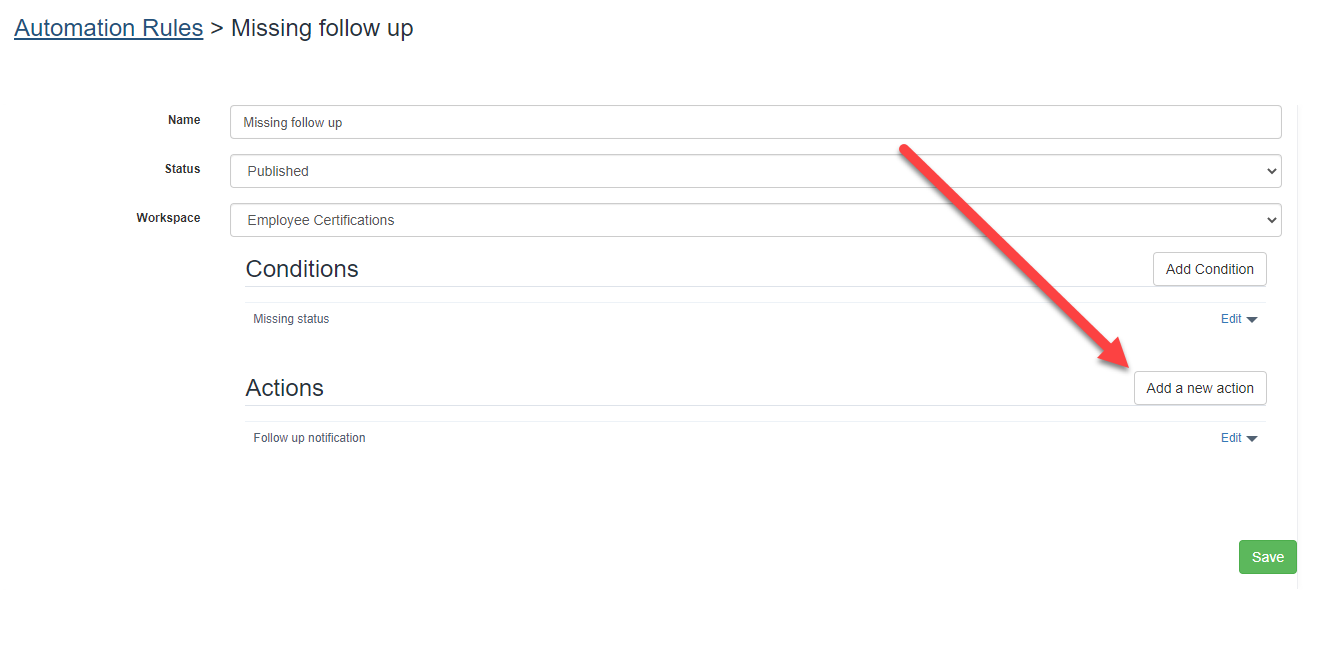
To add a 'Create Expiration' action, click on the Add a new Action button.

In the action type screen, select Create expiration.

In the screen, enter a name for the action and enter the details:

-
Action name: Enter a name for the action
-
Expiration name: enter a name for the expiration. It can be a variable which can be accessed using curly braces. Learn more about variables here.
-
Category: select the Document Type for the expiration.
-
Expiration date: enter how the expiration date will be setup. Choose between No Date, Missing, From Today or Custom. From today allows setting a date from today plus another value. Custom is based on a variable.
-
Contact emails: enter if any emails will be used to associate the expiration to a contact.
