Creating and Customizing List Views
Find out how to create list views with predefined filters and customized field columns
Items views allows you save a search and filter criteria in Expiration Reminder so you don’t have to create the same filters over and over again.
You can also see item views as predefined reports that you go back to at any time or export as a PDF/Excel when required.
Creating a new view
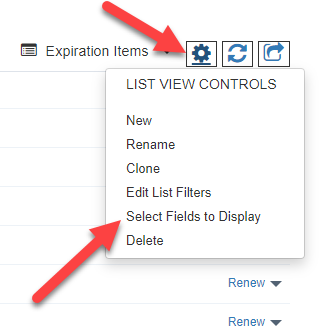
To create a new view for expiration items, click on the gear icon on the expiration list located on the right:
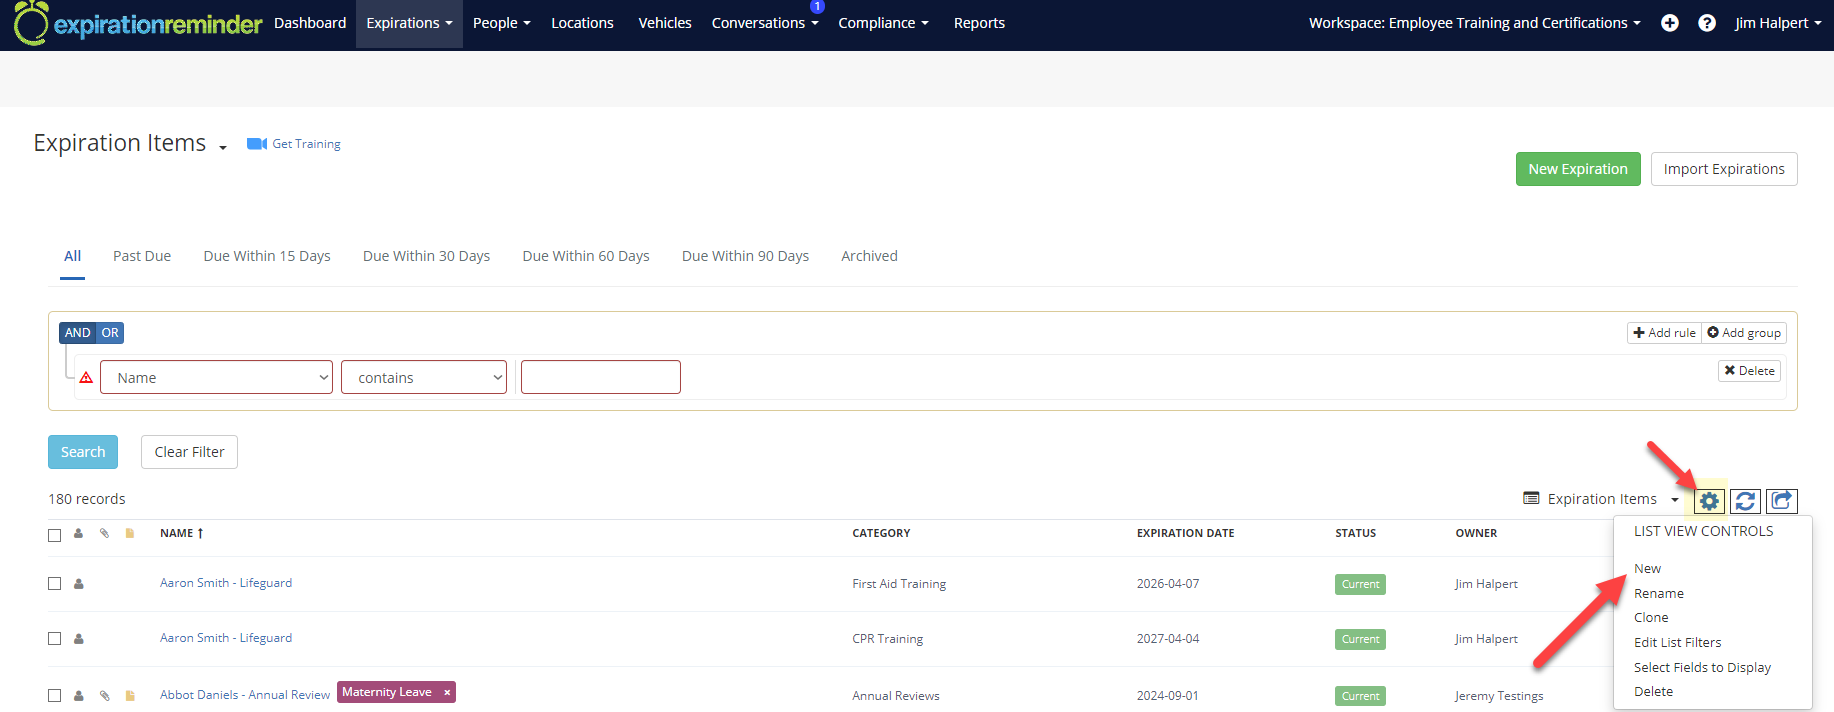
Then click on New, enter a name for the new view and click Save.

Set a filter for the view
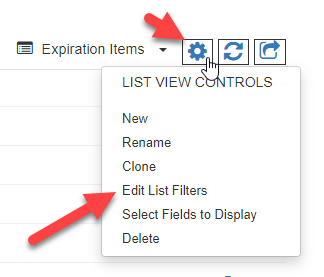
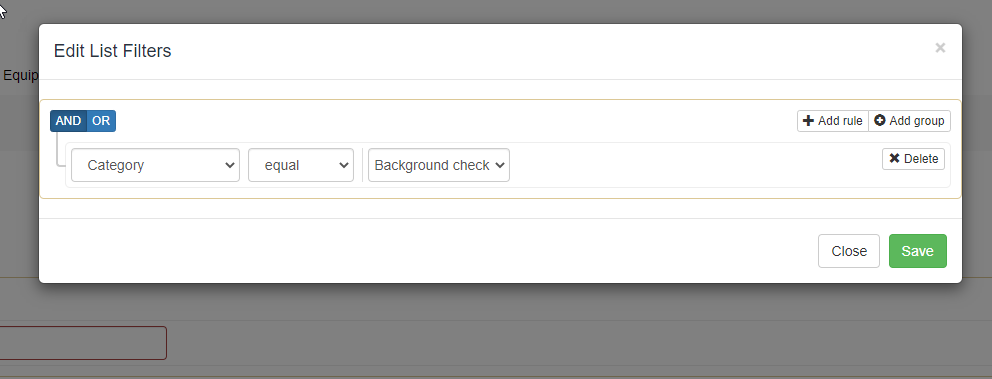
To set a filter for the selected view, click on the gear icon and click on Edit List Filter.
On the filter screen enter the desired filter rule and save it.
Selecting the fields to display
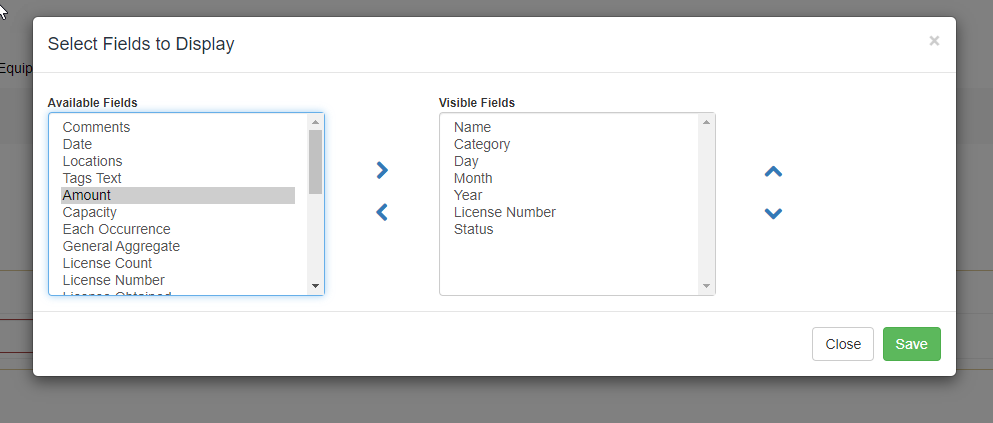
To select the fields and columns to display, click on the gear icon and click on Select Fields to Display.
From the select fields screen, select the columns to add to the view and order the fields using the up and down arrows.
Switching between views
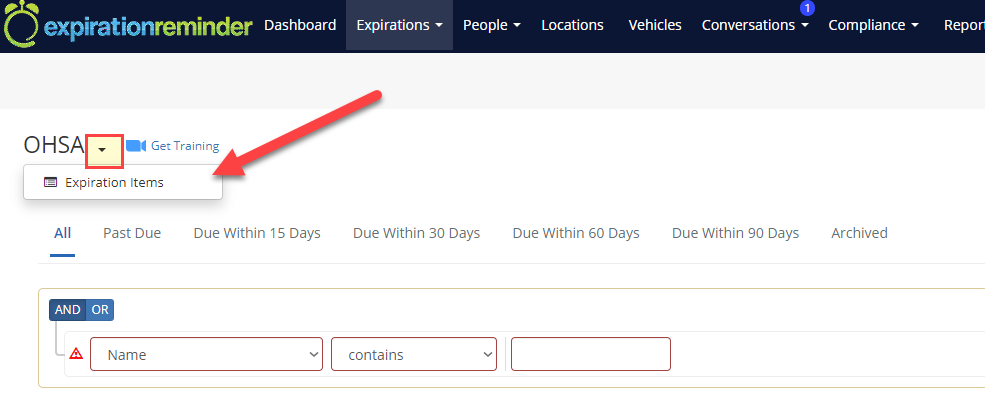
To switch between view, click on the black arrow located besides the view name to change the saved view:
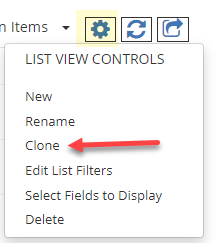
Cloning Views
Cloning views allows you to clone and then make minor adjustments to views you already have, and thus creating a new list view.
