
Workspaces allow you to separate information within the same Expiration Reminder account. This is useful for organizations managing multiple departments or teams that need distinct data separation.
For example, you can track employee certifications for the HR department, manage NDA contract expirations for the legal department, and oversee software license renewals for the IT department—all while keeping each department's data separate.
How to Create a Workspace
-
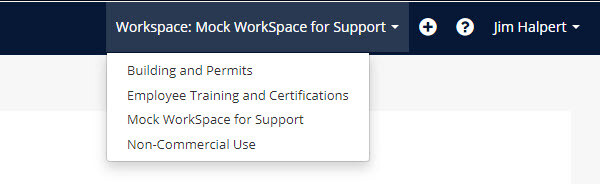
Click on Workspace Name in the top-left corner, then select Switch workspace from the drop-down menu.

-
Click the green "New Workspace" button.
-
Enter a name for your new Workspace and configure its settings. You can choose which modules to include, such as Companies, Locations, Equipment, and Vehicles. This is helpful if some Workspaces do not require all modules.
-
Click the green "Save" button to finalize your new Workspace.
-
Once created, you will see a drop-down list in the top-right menu, allowing you to switch between your Workspaces easily.

What Data Can Be Separated?
Data that can be separated into different Workspaces includes:
-
Expiration Items
-
Contacts
-
Document Types*
-
Locations*
-
Equipment
-
Roadmaps
-
Compliance Rules
-
Designations
-
Policies
-
Email Templates
-
Escalation Rules
-
Tags*
*Shared Data
Some data can be shared across all Workspaces for efficiency, though this is optional:
-
Document Types
-
Tags
- Contact Types