Adding Onboarding Templates
Learn more about onboarding new contacts to your account!
Expiration Reminder's Onboarding Templates streamline the process of collecting expiration item details from your Contacts without granting them full User access. This feature is particularly useful for populating your account database during initial setup or when onboarding new Contacts.
Users have access to your account. Contacts do not.- Steps to Creating Onboarding Templates
- Sending Onboarding Templates
- Things to Know About Onboarding Templates
- Video Tutorial on Onboarding Templates
- Viewing Onboarding as a Contact
Step One (optional): Create an Onboarding Email Template
Before setting up an Onboarding Template, it's recommended to create a custom Email Template that will be used to invite Contacts to provide their expiration details. Ensure to include the variable {{onboarding.url}} within the body of the email to provide Contacts with the link to begin the onboarding process.
For guidance on creating Email Templates, refer to our help article linked below
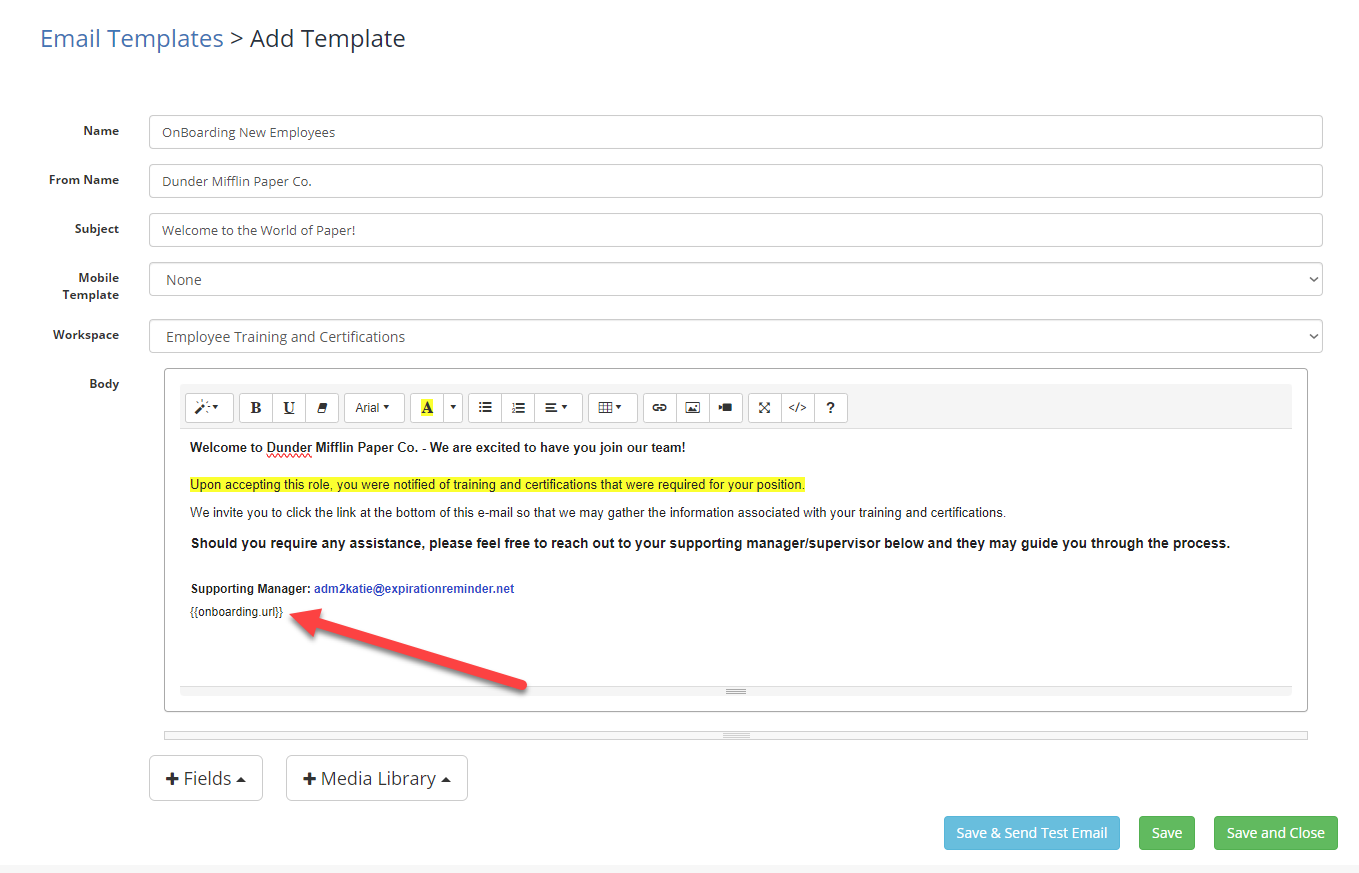
*Be advised, the step of creating a custom E-mail Template for Onboarding is not necessary but is recommended. For an example of the default template that appears without a custom e-mail template, you can view the screenshot below.

Step Two: Create a New Onboarding Template
- Access Onboarding Template:

- Navigate to the "Manage" section in your account settings.
- Select "Onboarding Templates."
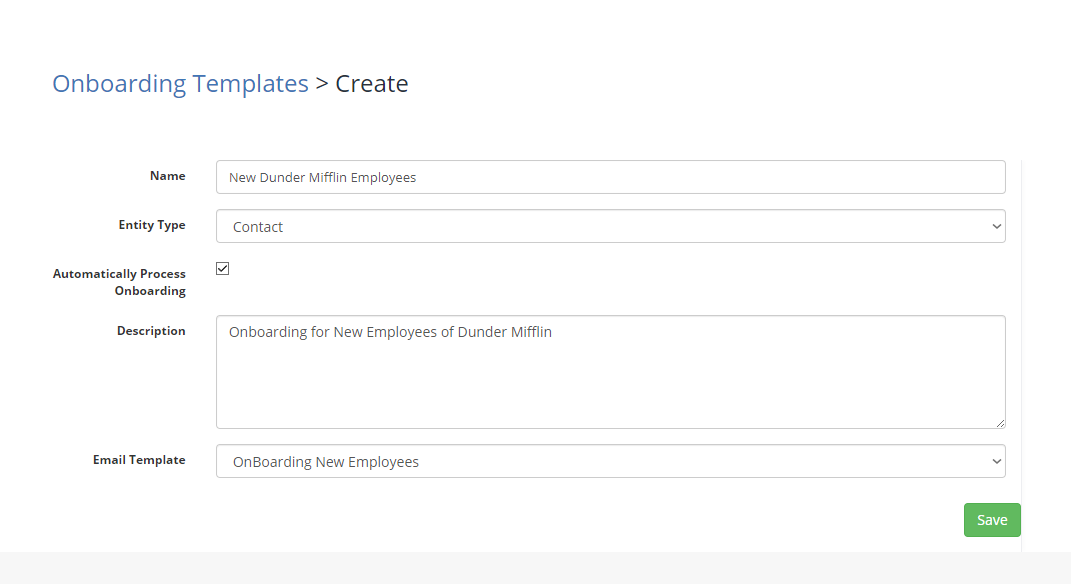
2. Create a New Onboarding Template
- Click the "New Onboarding Template" button located at the top-right corner.
- Fill in the following details:
- Name: A unique identifier for the template.
- Entity Type: Choose between "Contacts" or "Companies," depending on your target audience.
- Description: Optional; provide additional context for the template.
- Email Template: Select your custom email template or use the default option.
- Click "Save" to proceed.
3. Add Document Types:
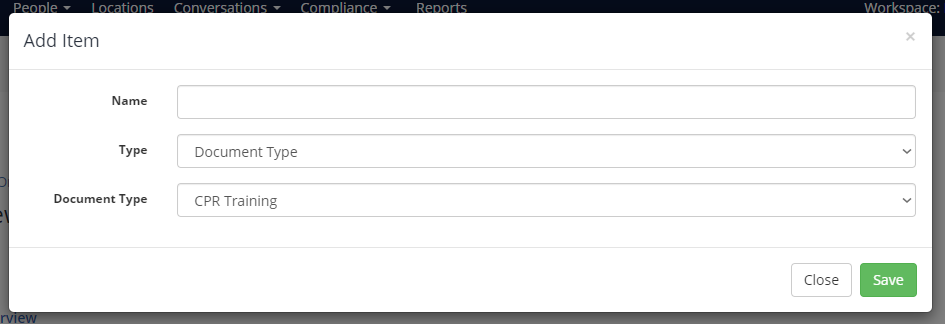
- In the Overview page of your newly created template, click "Add Item."
- Select the Document Types you wish the Contact to provide information for.
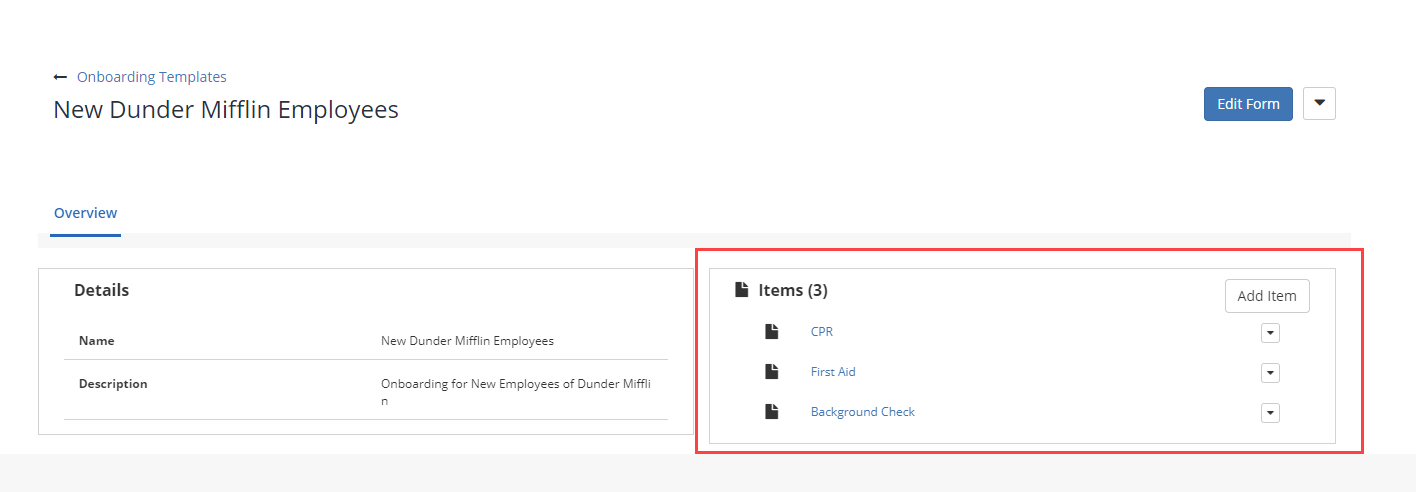
- For example, you might request details for CPR Training, First-Aid Training, and Criminal Background Check.
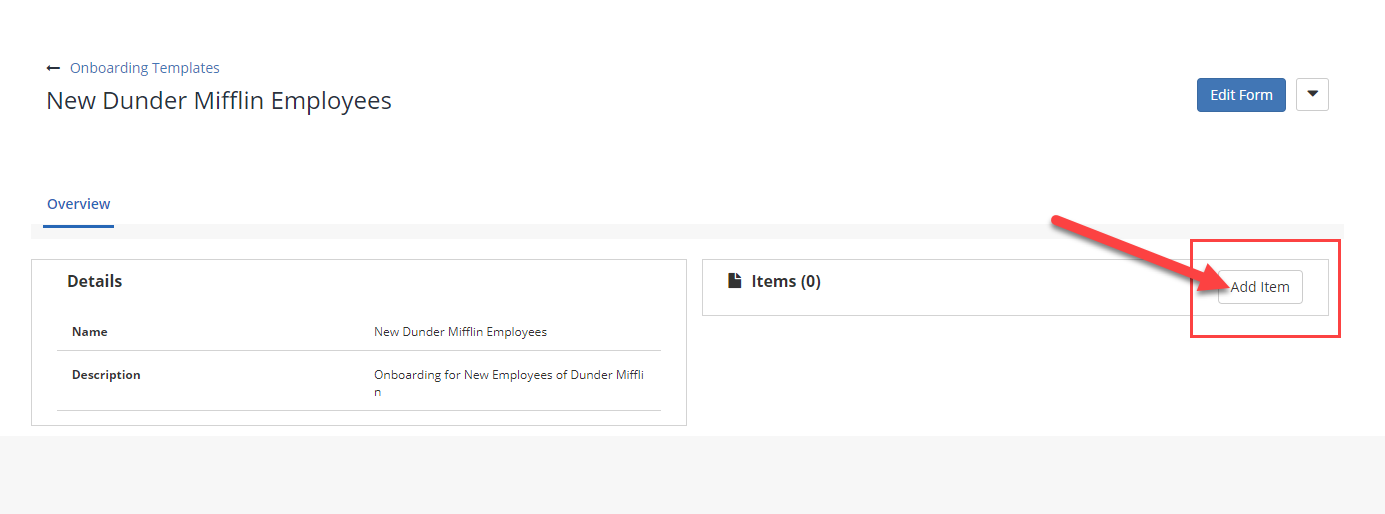
For our example, new employees are required to have the categories CPR training, First-Aid training, as well as a Criminal Background check.
Step Three: Sending an Onboarding Template
Once your Onboarding Template is configured:
-
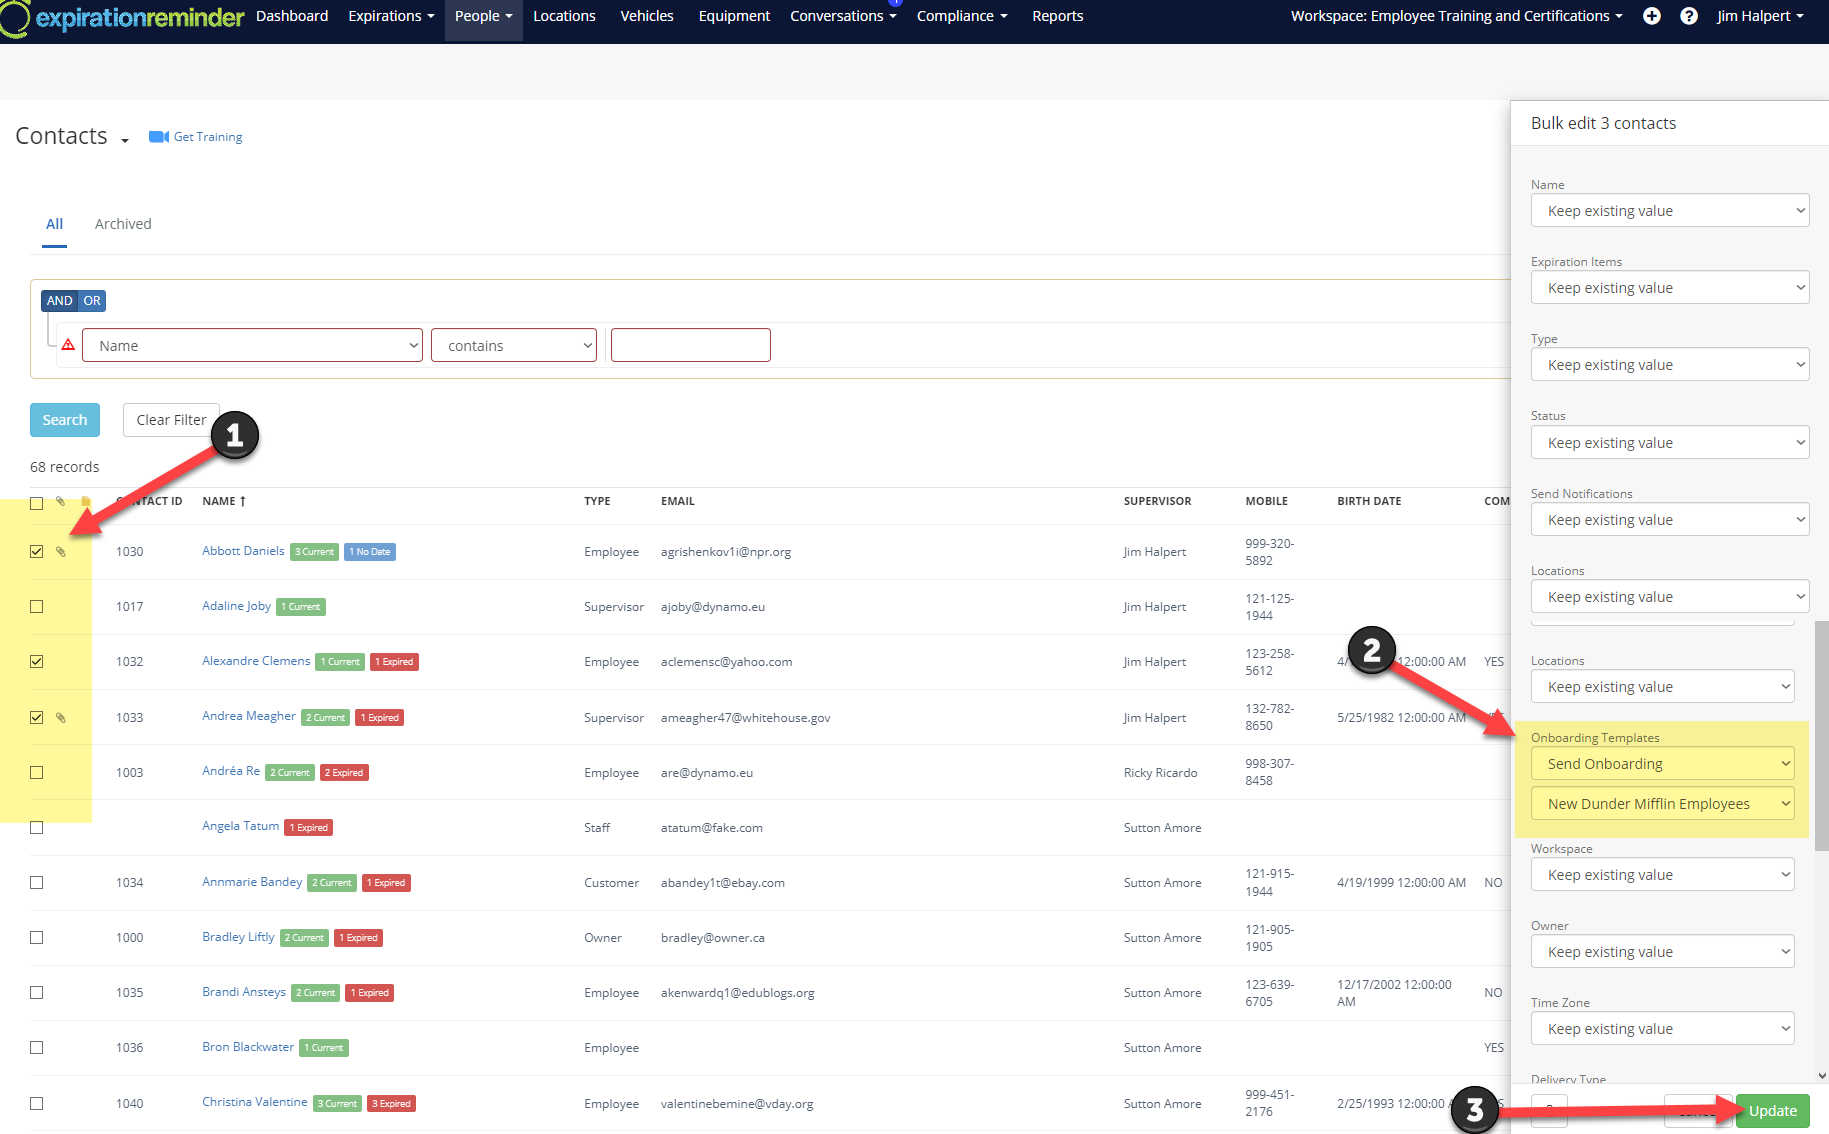
Navigate to Contacts:
- Go to the "Contacts" section in your account.
-
Select the Contact(s):
- Choose the Contact(s) you wish to onboard.
-
Initiate Onboarding:
- Click on the "Onboarding" tab within the Contact's profile.
- Select the appropriate Onboarding Template.
- Click "Send" to dispatch the onboarding request.
The Contact will receive an email with a link to a secure form where they can submit the requested expiration details. Upon submission, these details will automatically populate in your Expiration Reminder account, ensuring accurate and up-to-date records.
For a visual walkthrough, please refer to our video tutorial below - Click here.
Let's now view below how our Onboarding Template was received by one of the Contact's we've sent it out to.

Additional Notes for Onboarding Templates
-
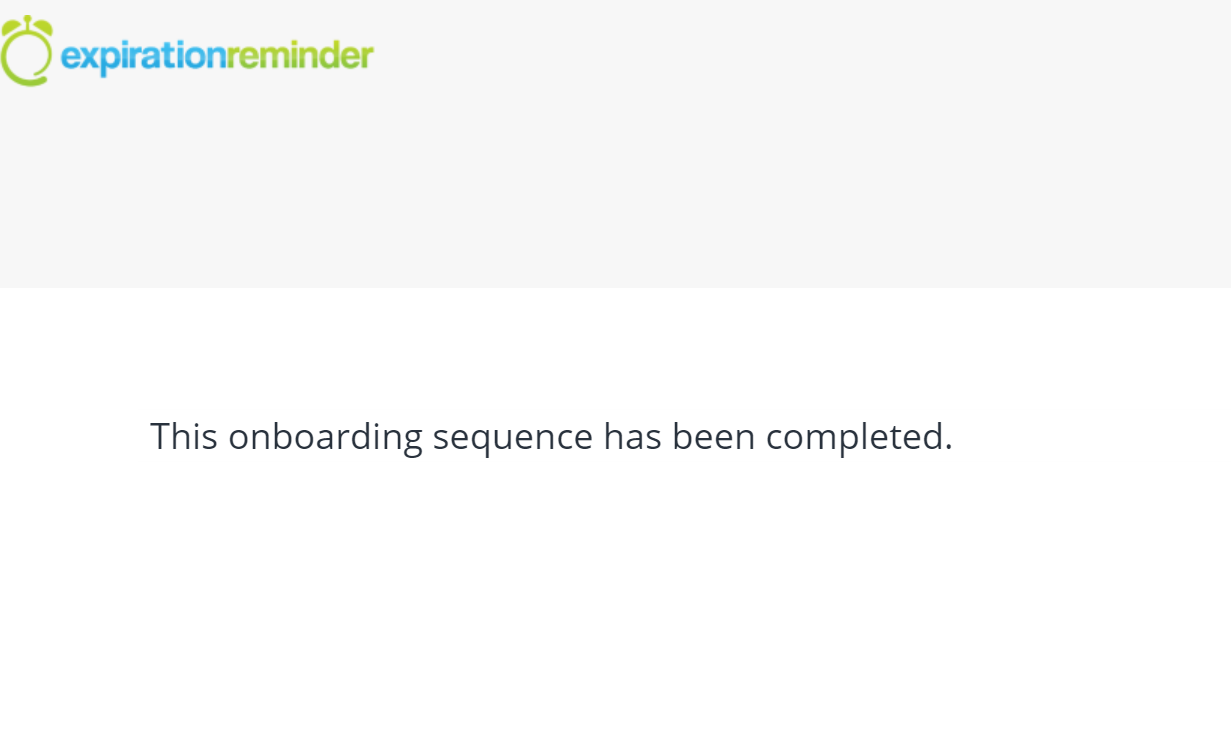
Once a contact has completed the template, if they try to click on the same link, it will state that the onboarding template has already been completed.
-
Expirations do not have to be already made for the contact to fill out the Onboarding Template as the feature will create them
-
Expirations that already exist under the Document Types involved in the Onboarding Template will be overwritten/replaced when the contact fills out the Onboarding Template with new details.
-
Creating a Custom E-mail template is not necessary when creating Onboarding Templates but is recommended.
-
Onboarding Templates will not send to Contacts which have "Digest - Grouped E-mail" selected as their Delivery Type for notifications.
Viewing as a Contact
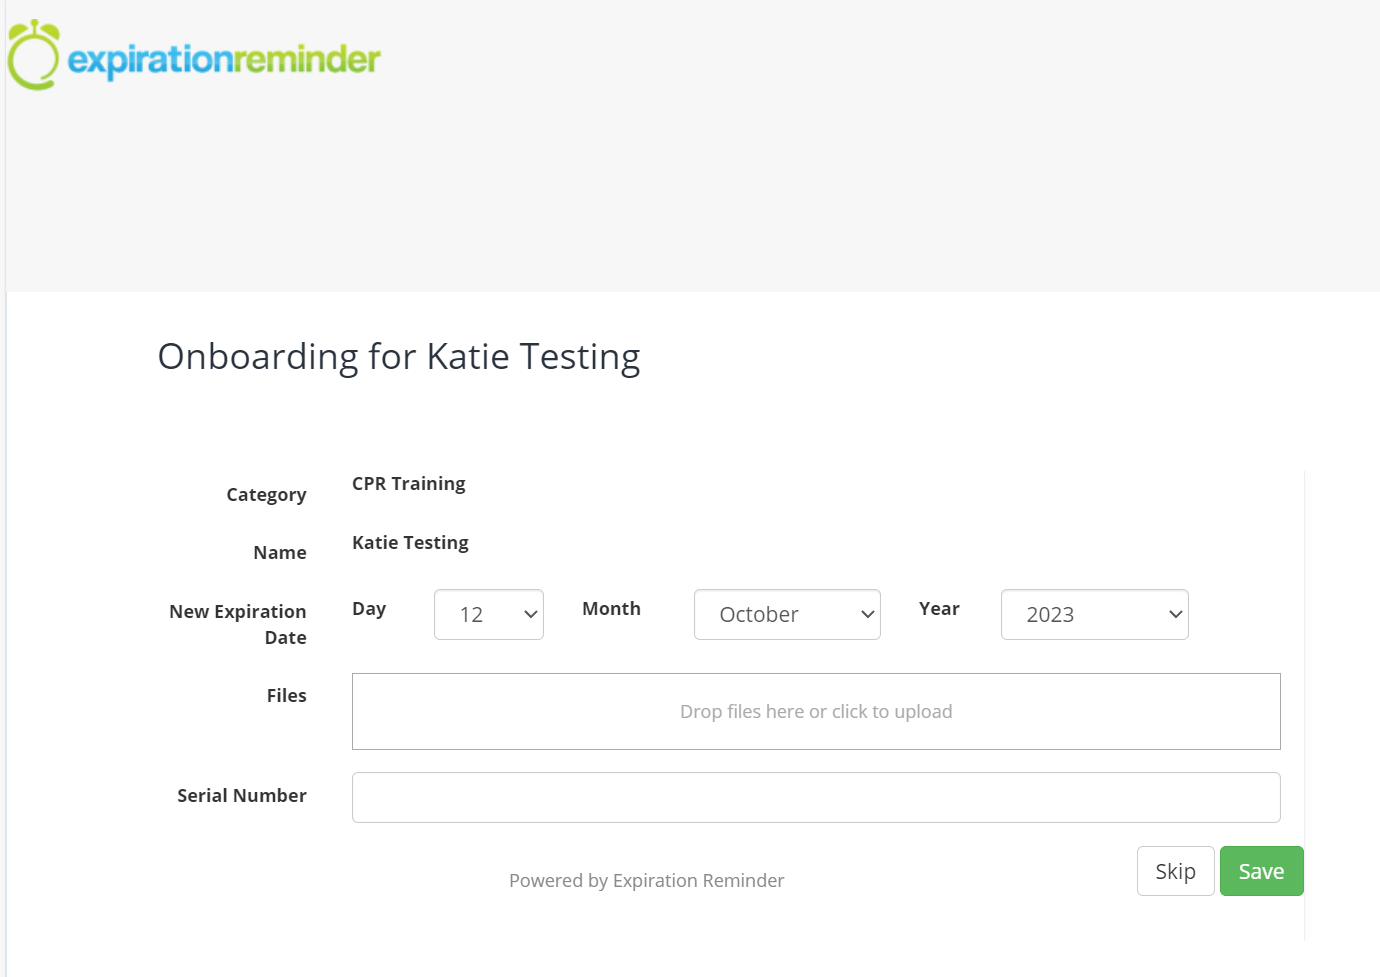
Below is a screenshot of the screen a Contact will view when clicking the Onboarding link in the e-mail you have sent. They will be prompted to fill out the information regarding the categories you selected. Each time they hit "Save" they will be brought to the next item until they've entered details for each document.
Once they have completed their details for all associated Onboarding categories, they will be met with the screen below.
